Wednesday, January 13, 2010

Reinventing the Lamington cake: LAMBington cake "pops"... PART I

Yeah... this is Part I for a reason that was not in my plan when I started putting this little guy together tonight.  But a lot of things weren't in my plan when I started this tonight...

First things first, though.  Mr. P of the venerable Delicious Delicious Delicious is holding a Lamington competition this month.  A very cool idea that I immediately had an entry in mind for.  While that entry is now, at this moment, sitting in my dining room, the rest of the plan (lots of brothers for my little entry and lots of pretty photos to accompany them) was not to be tonight.

The reason why?  I nearly set my house on fire with one of my photography lights.  Yep.  The photo says it all...


I'm a nine to fiver and I go to school, so often take my food photos at night using a little make-shift softbox light I build out of a cardboard box and and old t-shirt that I was very proud of... however, while taking pictures of my creation tonight, one of the lights tipped forward without my knowlege while I was arranging the shot and ignited the shirt part while I was fiddling with the Lamington.  NOTE: These lights are not normally that close to the lightbox, they were shifted during the "Omigod, fire!  What do I do?!  Stop Drop and Roll??!!  No... find blanket???  Maybe... Call hero boyfriend from other room to come douse the flames??!!  YES!!" part of the photo session.

Anyways, lesson learned here is don't be cheap, even if you're a poor student, and make your own lightbox thinking it will save you money.  Saving $$$ = Flamable Materials.   So, while we had a good laugh about it afterwards (and a few beers to calm the nerves),  needless to say I now no longer have a softbox light.  Therefore, I will have to take my proper pictures of this creation in daylight tomorrow... nice and early.

In the meantime, here is a shot in icky lighting of my entry for the very awesome contest at Mr. P's place...


There's also a chocolate/square version of him which will be completed tomorrow (he's resting in this photo, obviously, waiting to be coated in yummy frosting)...


Did I mention that the prize for winning this particular contest is a cookie cutter in the shape of a Welsh Dragon?  Yeah, pretty kick ace... of course, dragons breathe *gulp* ... fire...

So until tomorrow, when I will be revealing the recipe, REAL photos, etc for this challenge... I say goodnight to everyone.  I'm off to shower off the campfire smell!

Saturday, January 9, 2010

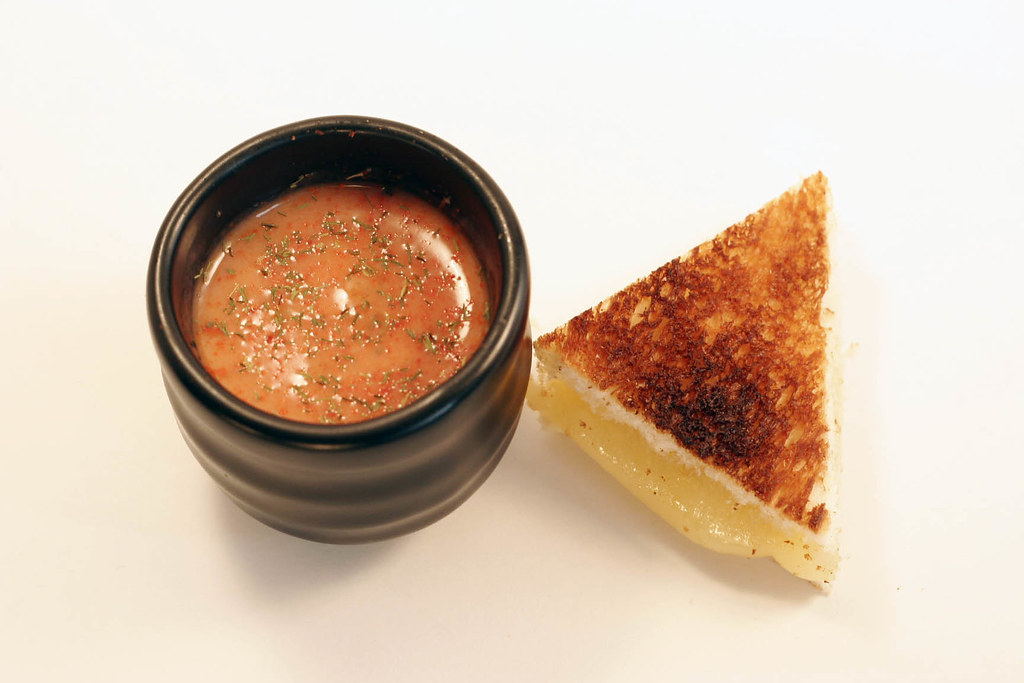
Whimsical hors d'oeuvres - tomato bisque shots and mini grilled cheese!

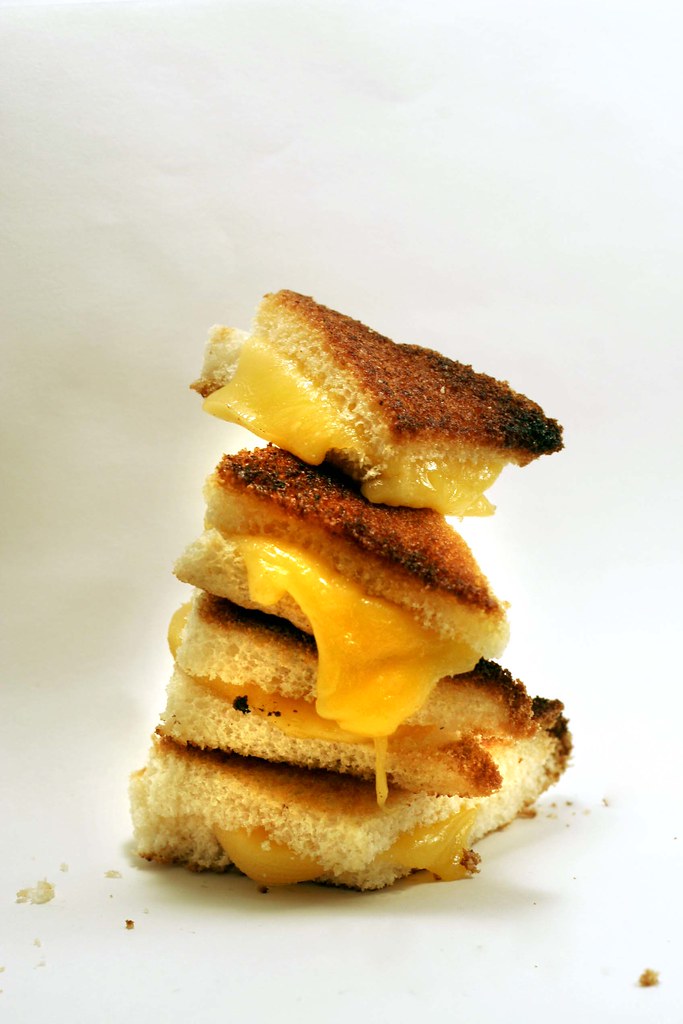
As promised, here's the second set of hors d'oeuvres in my series of 4 celebrating the first month of the new decade: a spicy tomato bisque with mini grilled cheese to make you go AWWWWW...

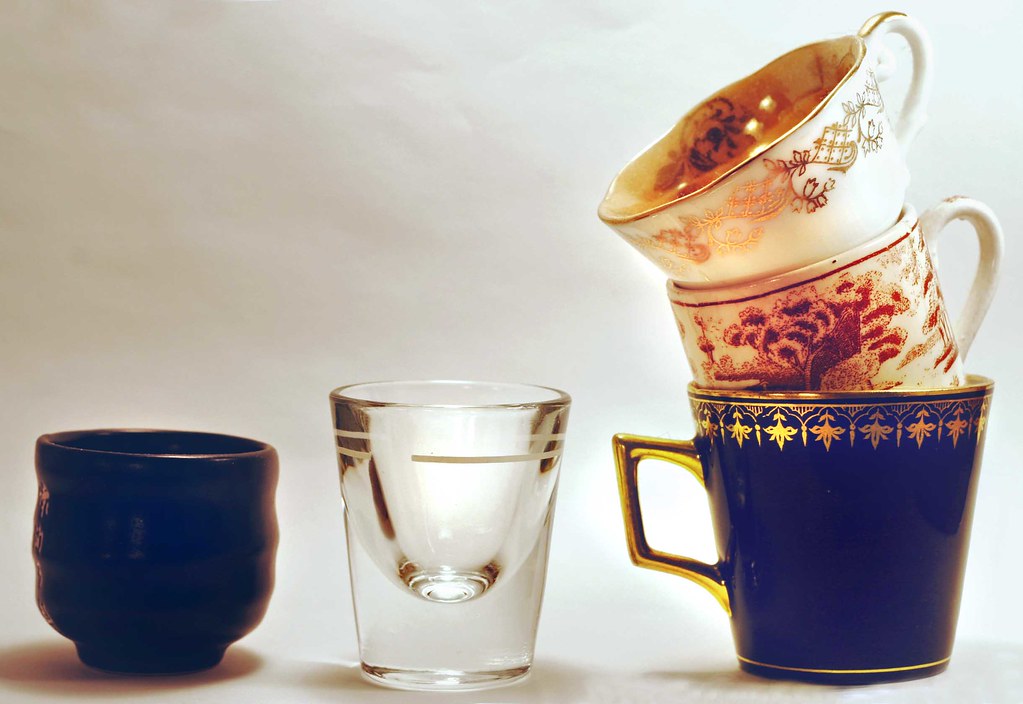
Note: I used sake cups for my "bowls" (a housewarming gift from my friend Ivon - thanks, Ivon!) but you can use anything little like shot glasses or demitasse cups...


Recipe: Tomato Bisque Shots with Mini Grilled Cheese


What you need for the bisque (makes about 6 cups)...

1 medium Vidalia or other yellow/sweet onion, diced
2 medium carrots, peeled and diced
1/2 cup jarred or fresh roasted red peppers, diced
4 tablespoons butter (divided in half)
3 cloves garlic
3 tablespoons AP flour
4 cups chicken or vegetable stock
2 14.5 ounce cans of diced tomatoes (drained)
3 tablespoons tomato paste
1/4 cup heavy cream
Splash of Marsala wine
1/4 cup minced cilantro
1/2 tablespoon cumin
Cayenne pepper to taste
Salt and pepper to taste

What to get for the mini grilled cheese...

A loaf of firm white/french bread, cut into triangles (about 20)
Approx 1 pound of a good melting cheese: brie, Gouda, cheddar, Swiss, etc
Butter or olive oil for pan grilling
Other optional add-ons: olive tapenade, Ajvar spread, pesto... you name it!

What to do with it all...

For the bisque:
  • In a medium saucepan, melt 1/2 of your butter (2 tablespoons) and saute the onion, carrot and garlic on medium heat
  • Once they begin to brown, sprinkle flour over veggies and cook on low for another minute or until flour is well incorporated
  • Add the stock, canned and paste tomatoes, Marsala wine, and roasted peppers and bring to a boil
  • Lower the soup to medium-low and allow to cook just above a simmer until the veggies are tender
  • Use an immersion blender and partially puree the soup (you still want some chunks) - you can also do this in a blender or food processor using half the soup and pureeing then adding back to the saucepan
  • Add your cream, cumin, cilantro, cayenne, salt and pepper and remaining 2 tablespoons of butter and heat until just hot
  • Set aside until grilled cheese is ready, then add to shot glasses/cups/bowls
For the grilled cheese:
  • Sandwich 10 slices of cheese between two triangles, smear one piece of bread w/optional spread
  • Brown on both sides in butter/oil in an oven-proof pan and transfer to broiler until golden and cheese is soft and partially melted
  • Place on the side or on rim of your bisque vessels!
  •  


Tuesday, January 5, 2010

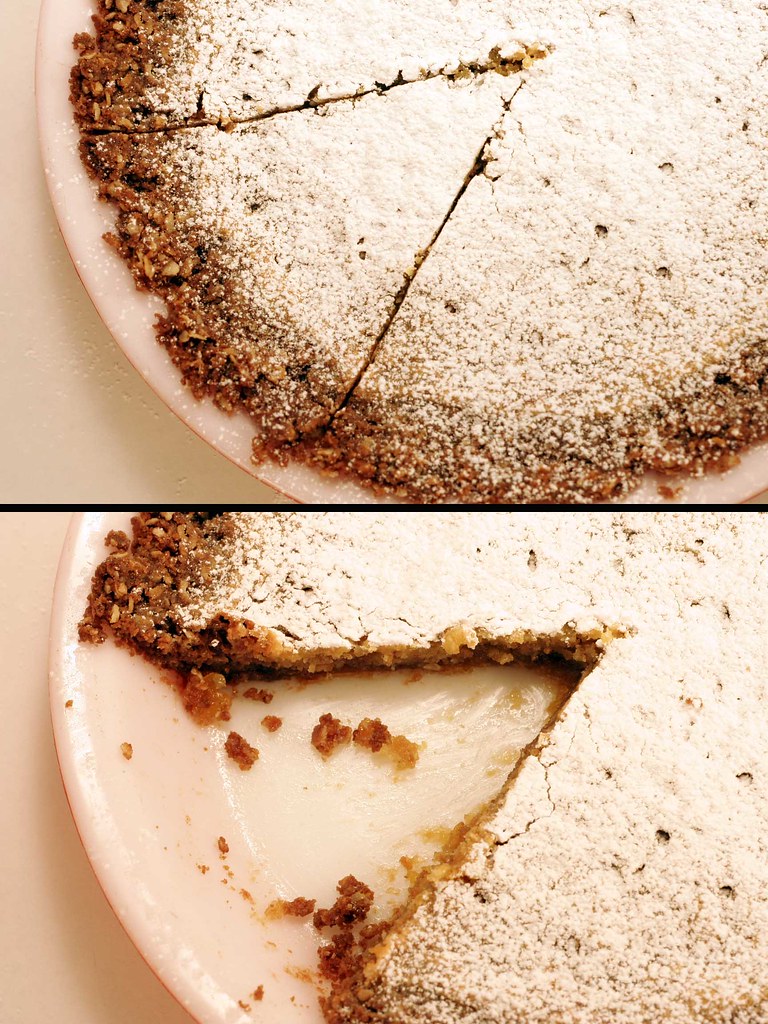
Momofuku Milk Bar - The Crack Pie Recipe


Martha Stewart said "crack" on national television.  I heard it with my own ears.  You can, too, if you go to this Eat Me Daily post.  Anyone familiar with the Momofuku Bakery and Milk Bar in Manhattan knows that if you're talking crack, it's in reference to the crack pie David Chang whips up there.  Martha visited the now famous chef's concept bakery when it first opened, and she and only she could get him to divulge the recipe for this notoriously addictive pie.  Martha rocks.

This pie, as it turns out, rocks, too.  Here's why:
  • It's got relatively few ingredients, and none of them fancy/unusual (at least this version)
  • It's rather easy to make, and you only need a baking pan and a 10 inch pie pan
  • It's delicious - really, really delicious... and I don't even like pies overall
First, the ingredients. The recipe on the show was by weight, but several good people around the web have converted this to volume measurements - something I didn't know right away as I furiously scribbled down the aired recipe and then nearly cry when I realized I don't own a food scale.  Thank you, web people.  I then halved the recipe for just one pie (the show's recipe was for 2, 10 inch pies) and made a couple key changes: I took out the dry milk, for one.  Why?  I don't think most people have dry milk around the house, I certainly didn't, and I feel the purpose of this recipe is the awesome convenience of not having to run out for special ingredients.  If you have dry milk, or want to go out and buy some, bless your heart.  Here is a version from The Boston Foodie left untouched by my meddling.  

I gotta warn you, any pie that has few ingredients is going to, obviously, have larger quantities of each: in this case that means lots of eggs... and lots of butter.  But seriously, it's called CRACK pie, so you can't really expect vitamins and minerals, can you? 


A note on the eggs: there are three yolks required for the recipe (hey, the original wanted FOUR).  Might seem like a waste of whites, especially if you don't get lucky and get a double yolk like I did (Ha!), BUT, did you know you can freeze your egg whites?  Yep.


Recipe: Momofuku Crack Pie - Peas Love Carrots Version (makes one 10-inch pie)


For the cookie:
1/4 cup unsalted, room temperature butter (1/2 stick)
1/4 cup light-brown sugar
1 1/2 tablespoons granulated sugar
1 medium egg
1/4 cup all-purpose flour
1/4 cup old-fashioned oats
1/8 teaspoon baking powder
1/8 teaspoon baking soda
1/8 teaspoon salt


For the crust:
1/4 cup unsalted, room temperature butter (1/4 stick)
1/2 tablespoon light-brown sugar
Pinch of salt


For the filling:
1/4 cup plus 1 tablespoon granulated sugar
1/4 cup plus 1 tablespoon light-brown sugar
1/8 teaspoon salt 
1/2 cup melted, unsalted butter (1 stick)
1/4 cup plus 1 tablespoon heavy cream
1/8 teaspoon pure vanilla extract
3 egg yolks plus 1 whole egg


Confectioners' sugar, for dusting 


What to do with it all...

  • First make the cookie - preheat oven to 350 degrees
  • Combine all the ingredients for the cookie and mix until well blended
  • Spread mixture on a greased cookie sheet (you can also line the cookie sheet w/parchment instead)
  • Bake cookie for 12 - 15 mins, or until golden


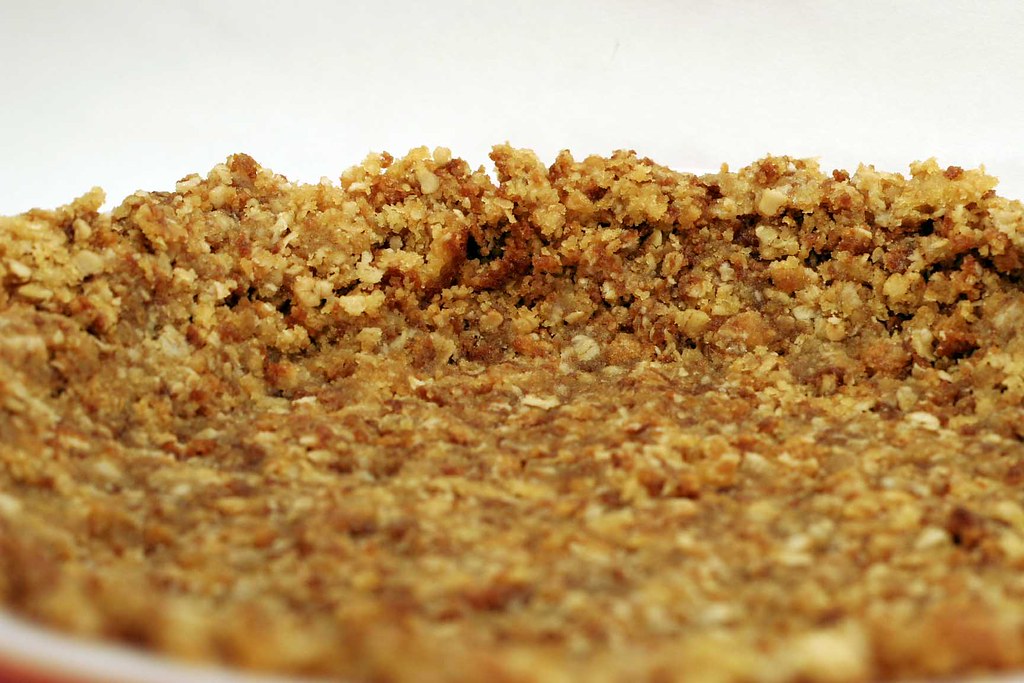
  • Let cool enough to handle then crumble into a large bowl and add the crust ingredients and combine well
  • Press crust into 10 inch pie pan, bottom and sides, and set aside

  • To make the filling - reduce oven to 325 degrees
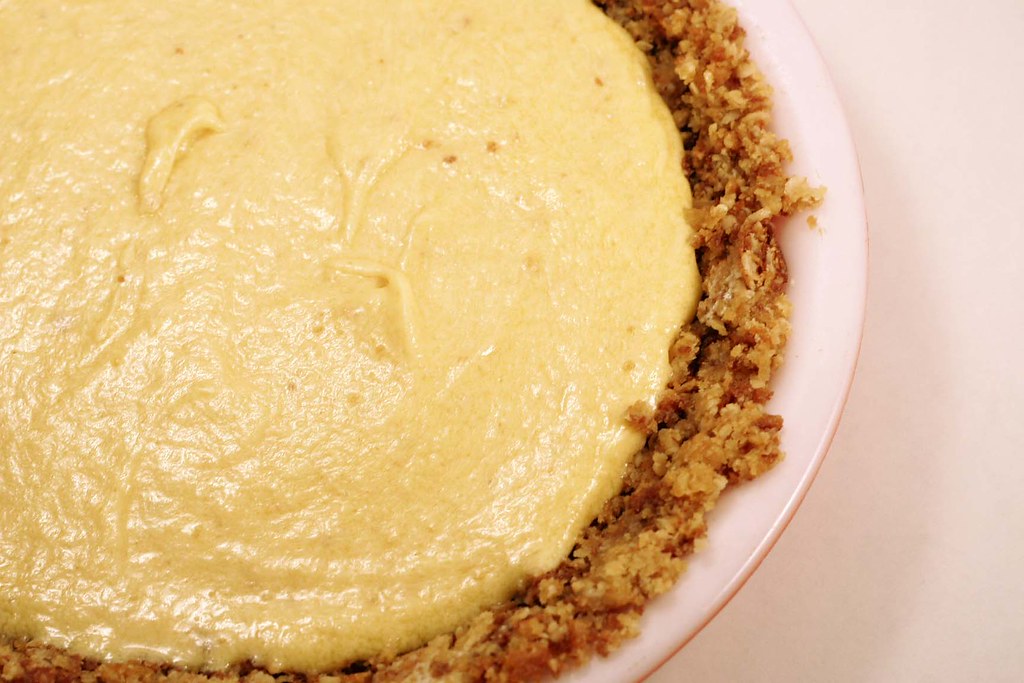
  • Combine filling ingredients in a large bowl and whisk until smooth

  • Pour into pie crust and bake for 15 minutes, or until somewhat set
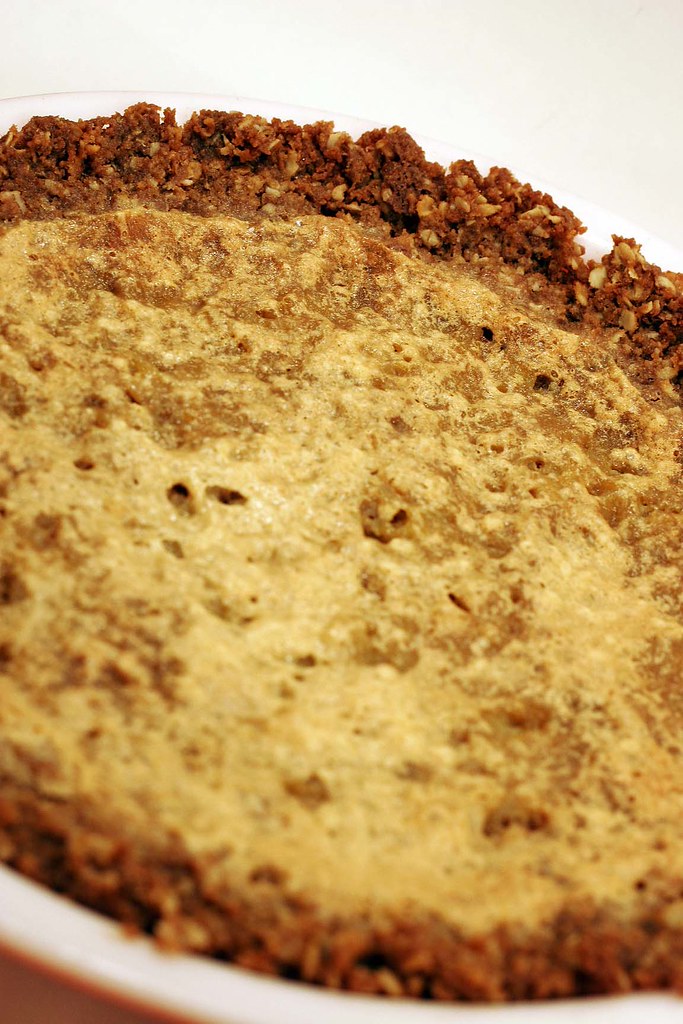
  • Reduce oven temperature again to 315 and bake until the top is browned
  • Remove from oven and cool slightly
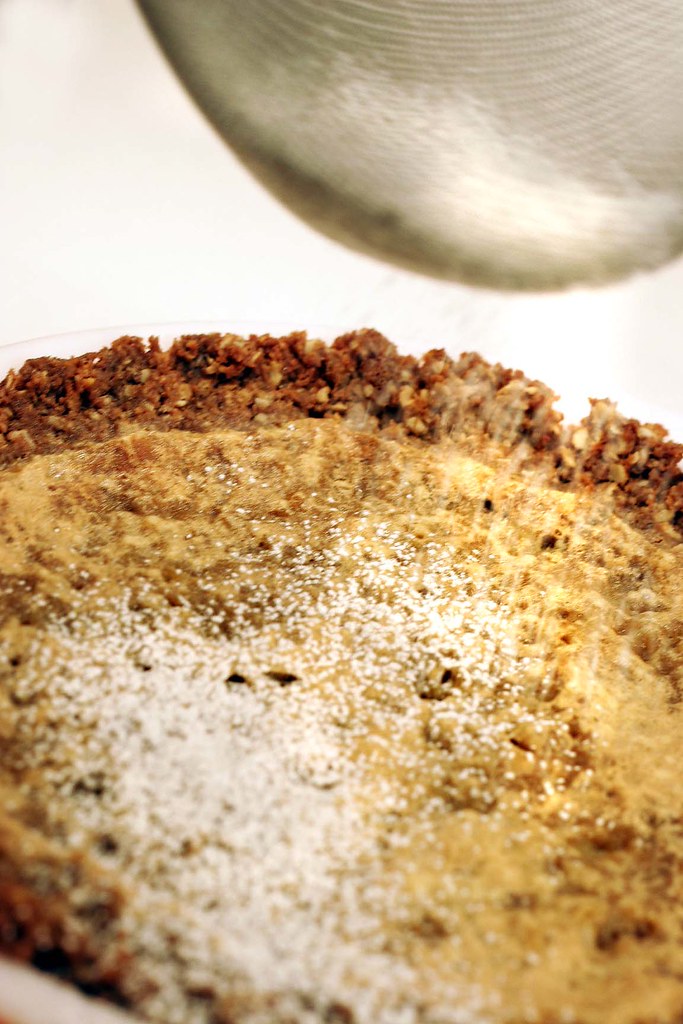
  • Refrigerate for at least 30 mins and dust with confectioner's sugar before serving


LinkWithin

Related Posts with Thumbnails