
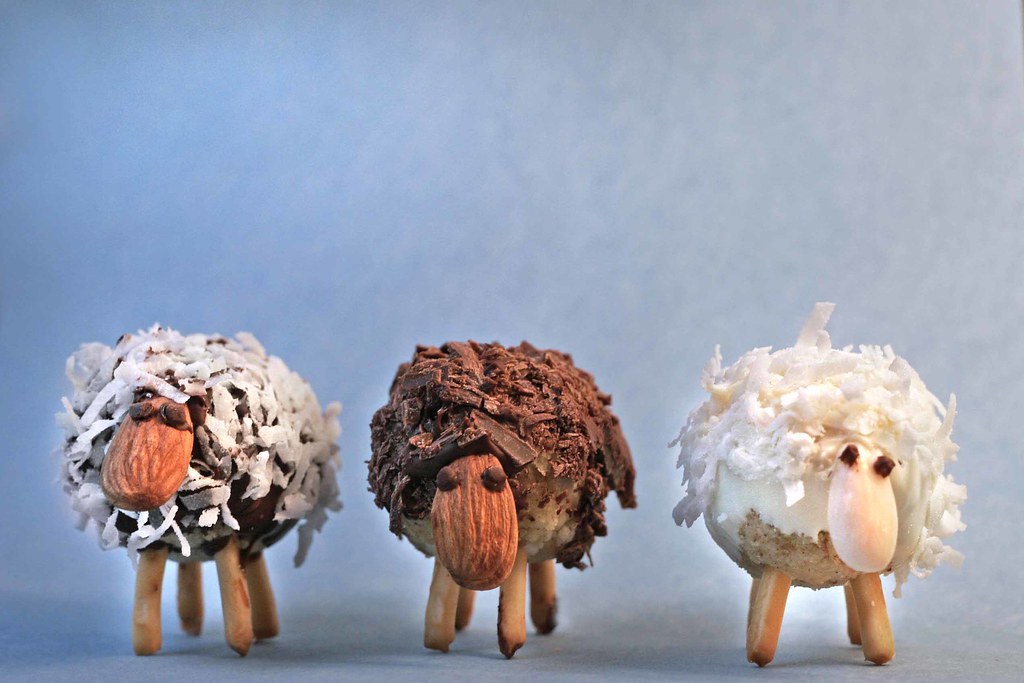
Introducing...
Mortimer - the Traditionalist:
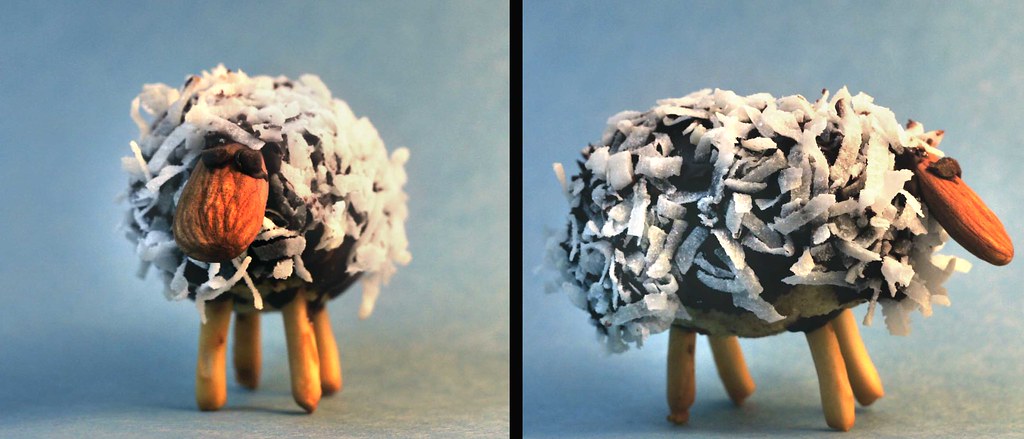
Clementine - The Sweet One:
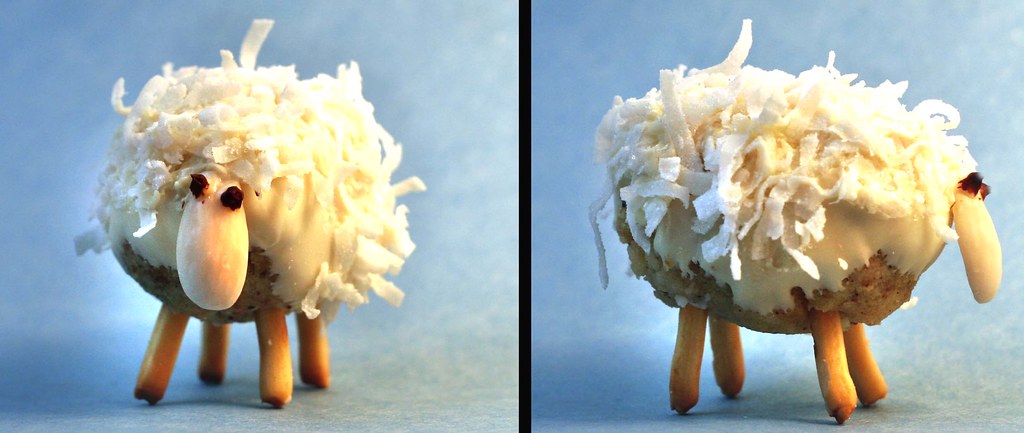
Hubert - The... One That Got a Little Too Close to the Photo Lights and Got Melty:

As I mentioned yesterday, I had a little fire while taking pictures of these little guys, so I had to delay my REAL post until now. So here they are, and if I must say so myself, they are rather adorable! Thanks to Mr. P for creating a brilliant challenge over at Delicious Delicious Delicious. He asked everyone to reinvent the lamington cake - the famous Australian dessert. I thought, well, Australia has lots of lambs, right? And "lamington" sure is close to LAMB...ington... soooooo....
I decided to model these little babies after the one and only Bakerella basic recipe for cake pops. Those adorable, one-of-a-kind masterpieces that you don't even have to like cake to enjoy looking at for hours. After making these, I searched her site and found that she even had some little sheep pops already! They're very different from my guys, but I have a feeling if you put them all together in a room with some cocktails, they'd get along really well. Obviously my sheep are not actually "pops" as they have legs... made out of plain Pocky sticks! But the cake ball recipe is Bakerella's. It was Jason's idea to add the chocolate eyes, by the way, and I'm so glad. I really think they make these little guys. He's brilliant!
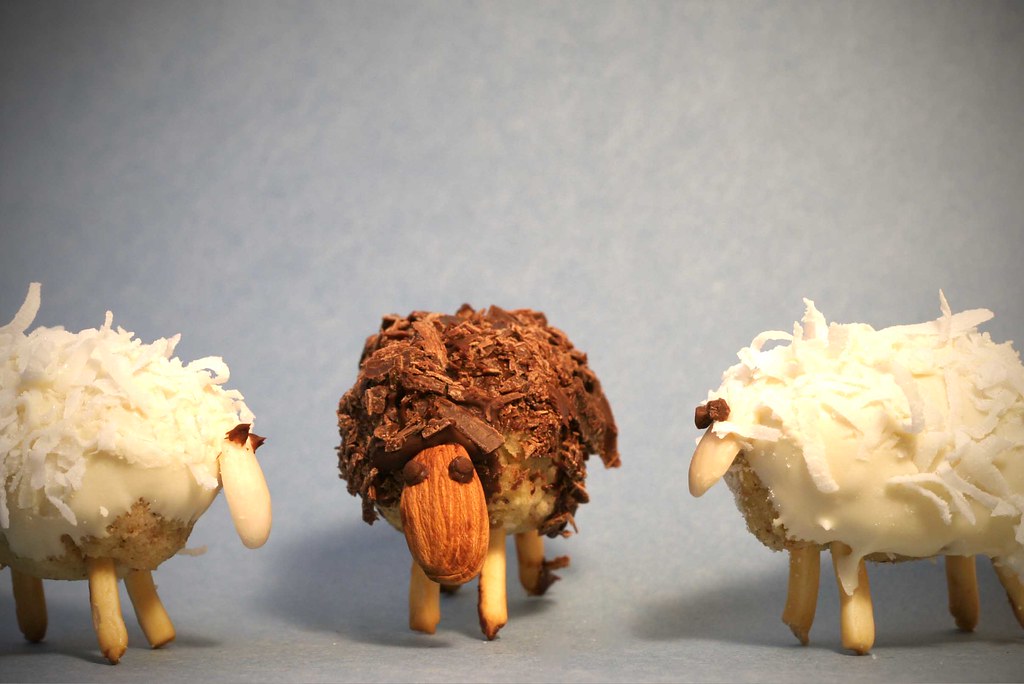
Have you ever been the black sheep in the family? This guy knows your pain!
Recipe: The LAMBington Cake
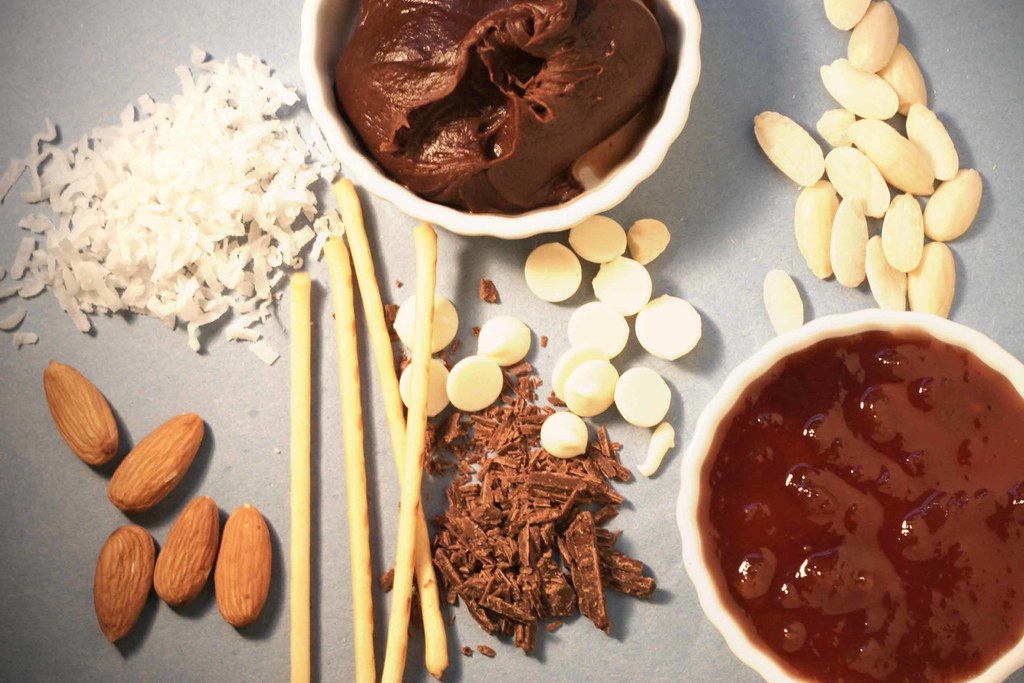
What you need to get...
1 box of lemon or vanilla cake mix (plus ingredients on the back of the box per baking instructions)
1 can of vanilla frosting (16 oz)
1 package of white chocolate baking/melting chips (11 oz)
1 package of milk chocolate baking/melting chips (11 oz)
1 jar of good jam or preserves (I used quince)
1 bar of milk chocolate, shaved (you can use chocolate sprinkles instead)
1 cup shredded/dessicated coconut
1 box of plain Pocky - such as "Rost" variety OR small unsalted thin pretzel sticks
1 tablespoon Garam Masala (optional)
1 cup raw almonds
1 cup blanched/skinless almonds
Special equipment: 13 x 9 cake pan, large bowl, wax paper, a toothpick
What to do with it all...
- For the cake oval bodies, bake your box cake according to directions for a 13 x 9 cake, adding the tablespoon of Garam Masala if desired (also see Bakerella basic recipe)
- Allow cake to cool and crumble into a large bowl, and add your vanilla frosting by large spoonfuls and combine by hand until you achieve a consistency sort of like meatloaf - easy to form ovals
- Using a walnut-sized amount of cake mixture, form an oval shape, then cut the oval in half lengthwise and spread a small amount of jam in between - reassemble like a sandwich and reshape to an oval
- Cut the ends off of Pocky sticks in one-inch pieces (you want the end pieces as they will form the feet), OR if you are using thin pretzel sticks, cut them in half
- Melt your white and milk chocolate chips in small bowls according to package directions
- Dip your cut ends of the Pocky or pretzle sticks into the chocolate (some in milk, some in white as you wish the final colors of the lambs to be), just a scant centimeter or so and then stick into your oval, repeat 3 x until you have "legs" (the chocolate acts as a glue of sorts) - make sure your legs are at even lengths so that when you set them down later, they'll stand properly
- Place your lambs on their "backs" on a plate or small tray under a piece of wax paper and place into the freezer for at least 10 minutes
- During this time you can arrange your "wooling" station by spreading shredded coconut on one plate, chocolate shavings or sprinkles on another, and rewarming your milk and white chocolate for dipping
- Remove lambs from freezer and carefully dip one by one into the chocolate color to match the legs - make sure to cover the sides and front & tail
- Quickly move your dipped lamb from the chocolate to the coconut or shavings and coat - chocolate dries quickly!
- Now re-dip just one end slightly in chocolate to act as glue to attach your almond face - attach the almond with the pointed end so you have a rounded face
- To make eyes you can either just dab on milk chocolate with the toothpick, or attach small bits of solid chocolate that you've rolled between your fingers just a little to soften and make round and attach that using the melted chocolate and the toothpick


