Showing posts with label How to. Show all posts

Wednesday, January 20, 2010

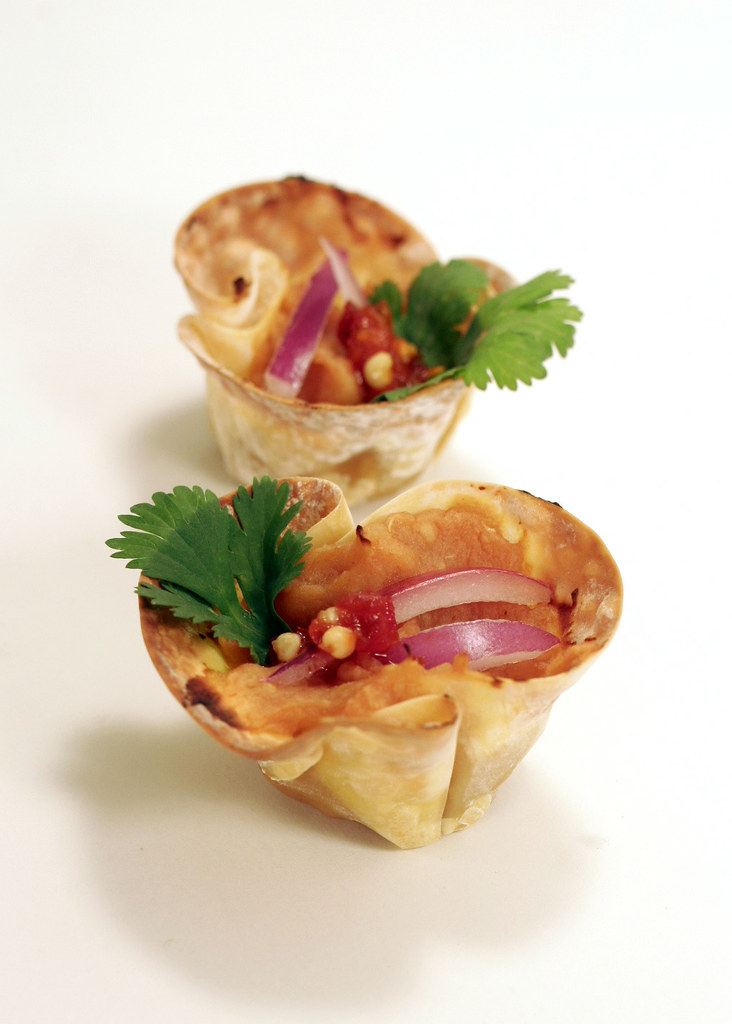
4 Best Whimisical Hors d'oeuvres: Thai Pumpkin Wonton Cups


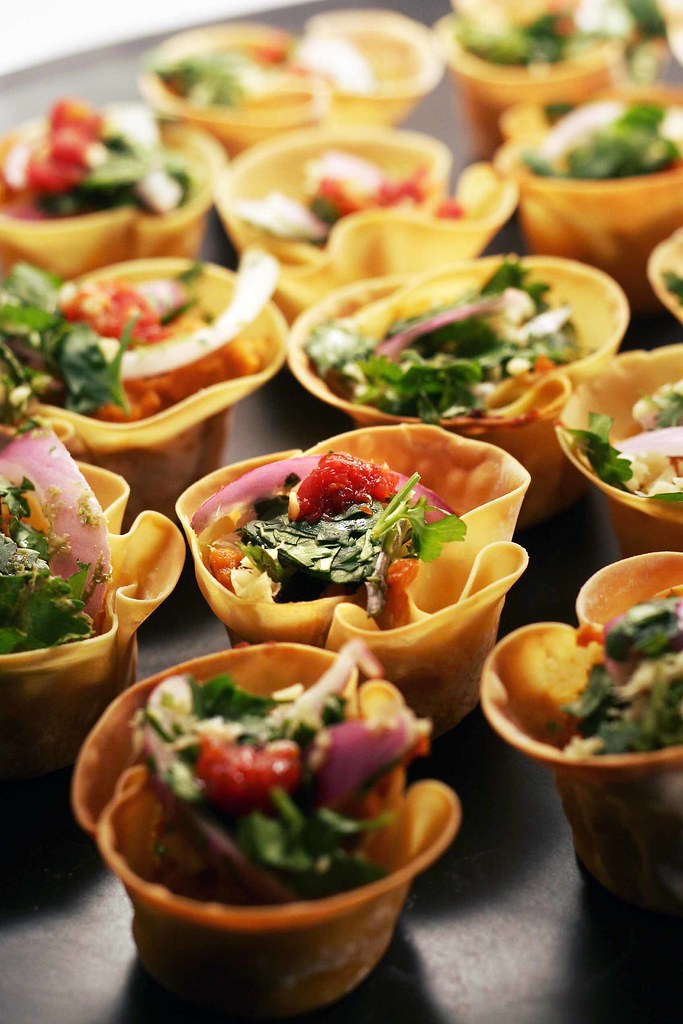
This is the last in the series of 4 hors d'oeuvres put together for the new decade.  This one may not have eyes, but I think it still qualifies as whimsical.  The colors are oh-so-pretty, and these are fairly simple to make ahead and reheat for guests just before spooning on the fresh onion salsa!


What you need...

For the filling
1 can pumpkin puree
1 cup coconut milk
1 tablespoon fresh grated ginger
1 teaspoon salt
1/4 teaspoon sugar

For the salsa topping
1/2 medium red onion, sliced thinly
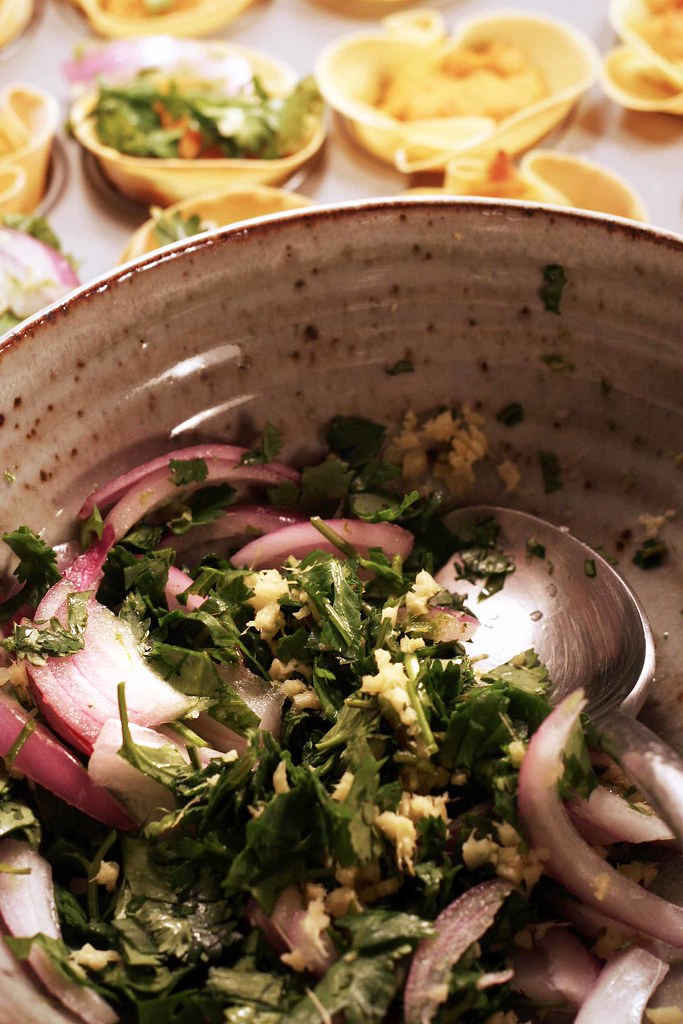
1 bunch cilantro leaves, roughly chopped
5 red chilies
1 lime, juiced and zested
Salt and pepper to taste

For the cups
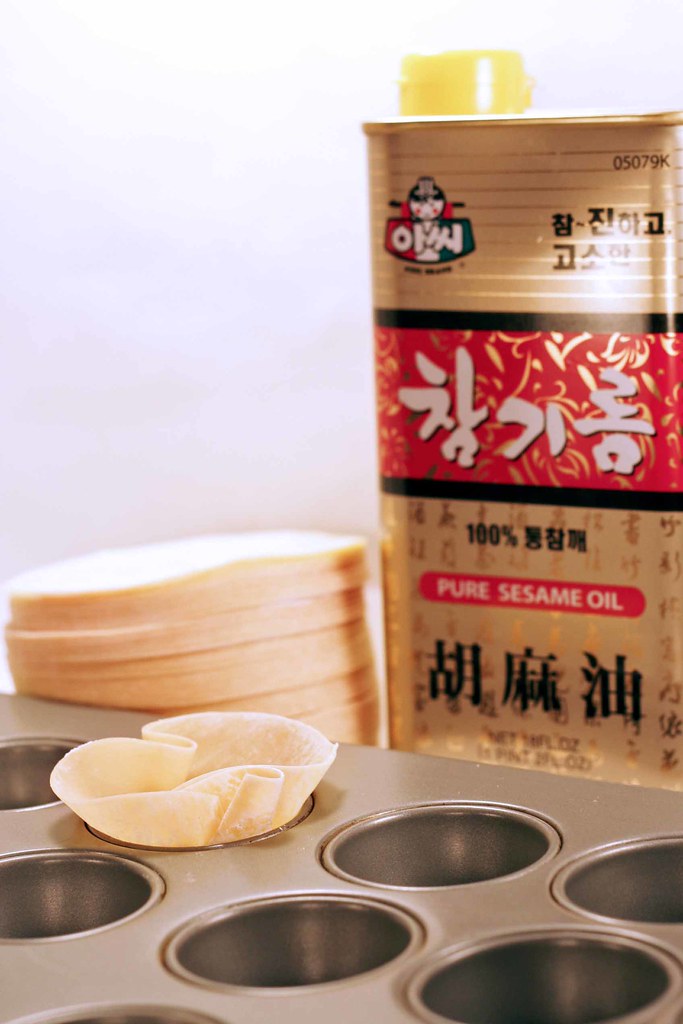
1 package round wonton or dumpling wrappers
Sesame oil for brushing

Special equipment: pastry brush, mini cupcake tin


What to do with it all...
Preheat your oven to 350 degrees
 
Combine your salsa ingredients and set aside 


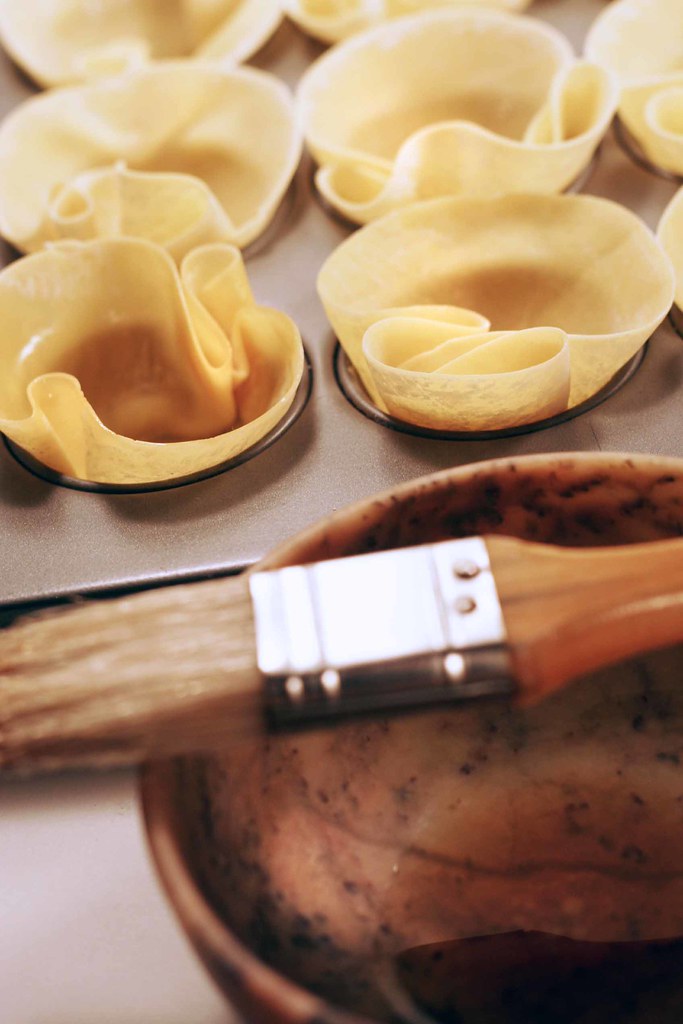
Brush one side of each wonton wrapper, and then place into a mini cupcake well, oiled side down


Combine all of your filling ingredients and spoon into each wonton (enough to reach the brim of the pan)


Bake for approx 15 mins or until wontons are golden


Remove from oven and spoon a little salsa into each cup


Done!


Thanks for following the whimsical hors d'oeuvres series.  Here's a look at the previous 3!

Olive penguins and mozzarella snowmen


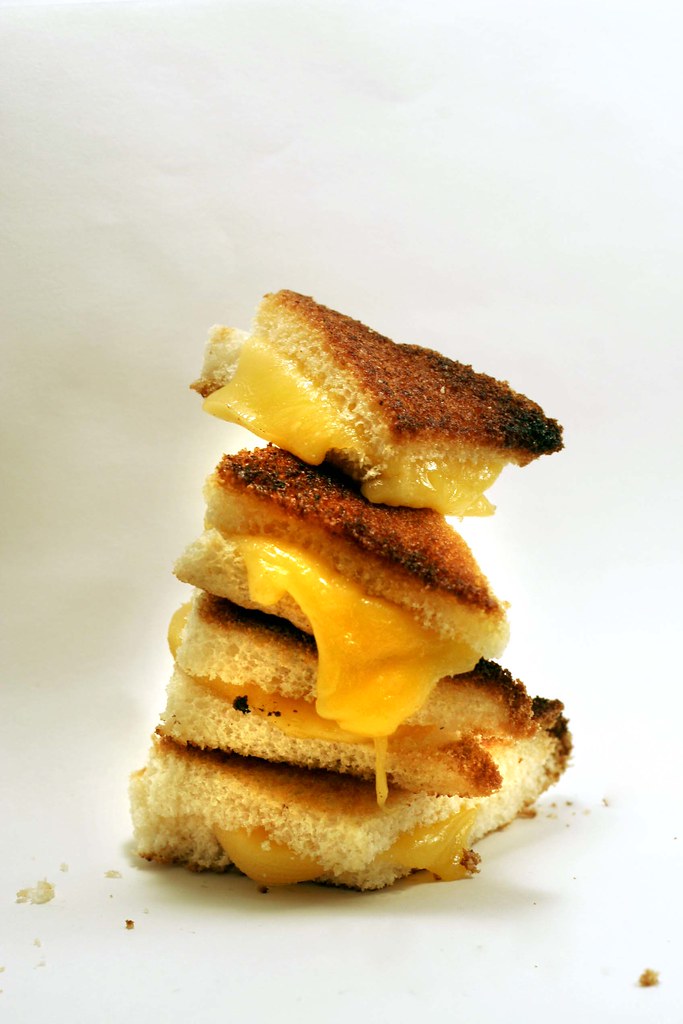
Tomato bisque shots and mini grilled cheese


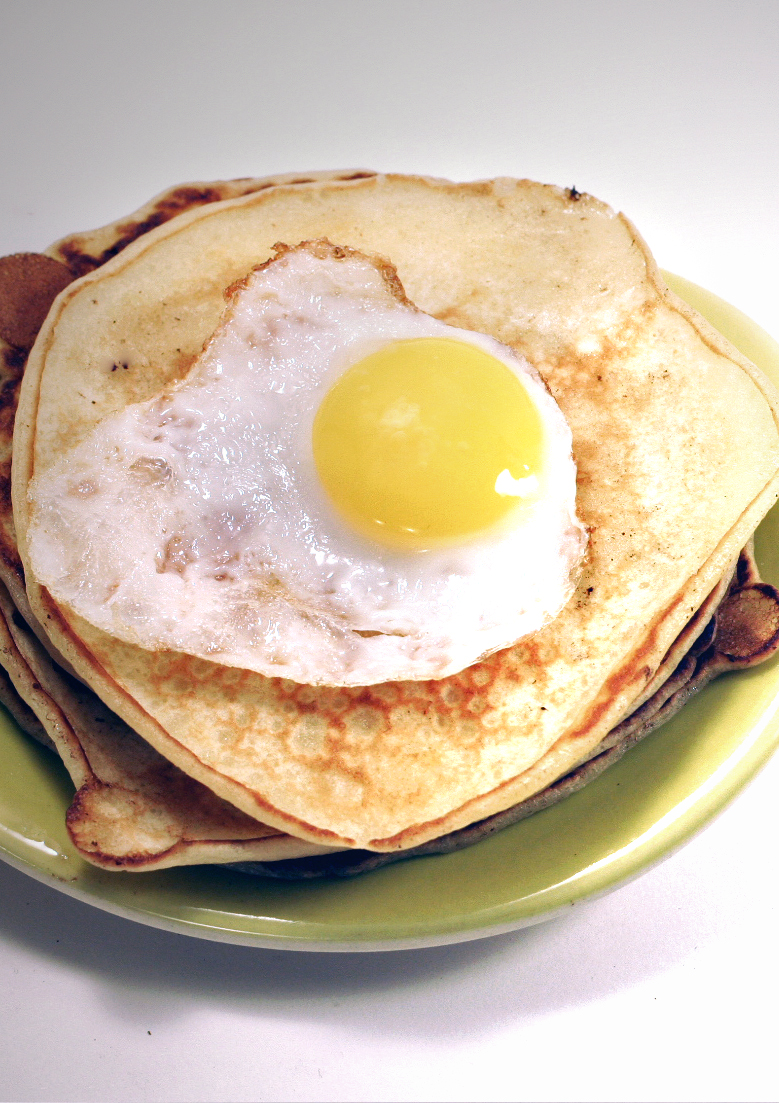
Olive oil blinis and fried quail eggs (mini pancakes and eggs)


Saturday, January 16, 2010

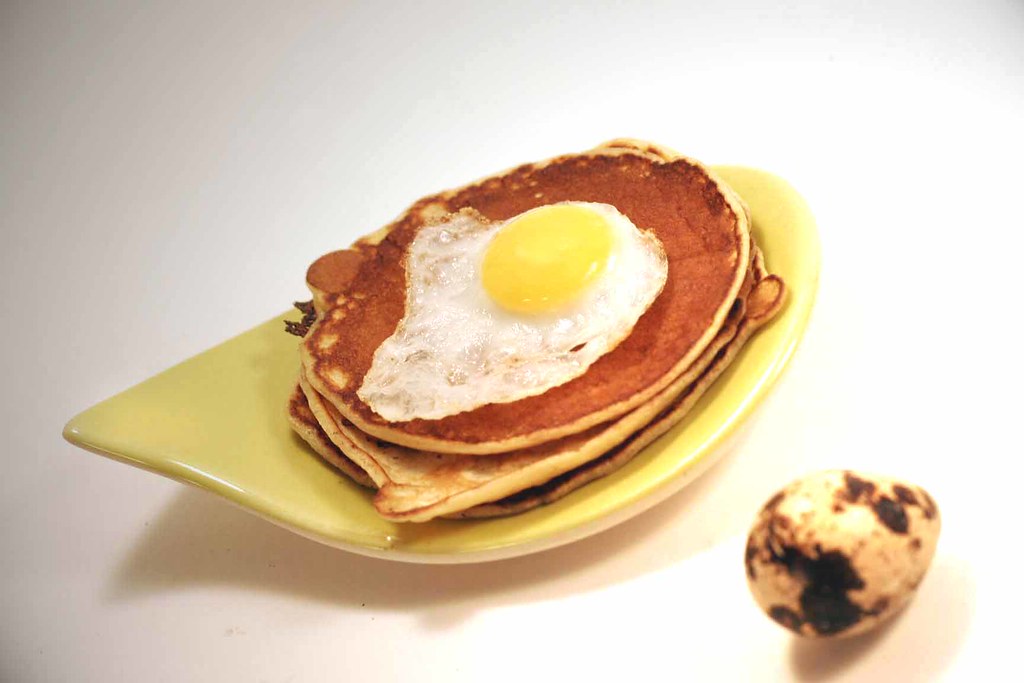
The best whimsical hors d'oeuvres - Mini pancakes and eggs {Olive oil blinis with quail eggs}


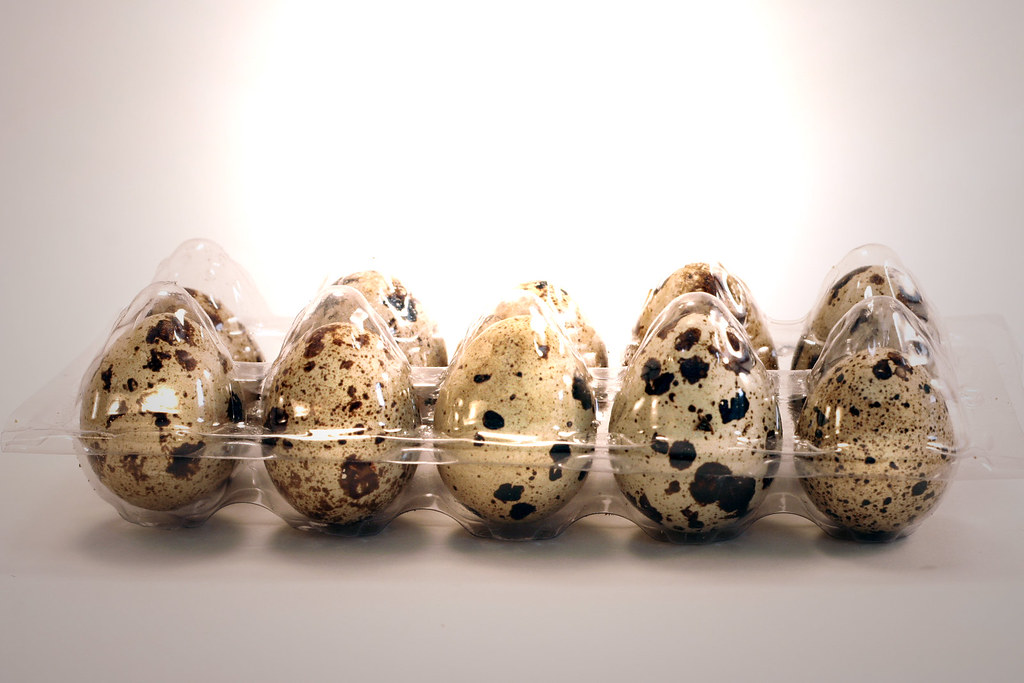
Here's the 3rd in my January series of whimsical hors d'oeuvres: the mini pancakes and eggs!  The idea came from the cartons of quail eggs I continually pass in the Vietnamese markets near my house.  They're one of those things you just need the right excuse to buy... and here it is!


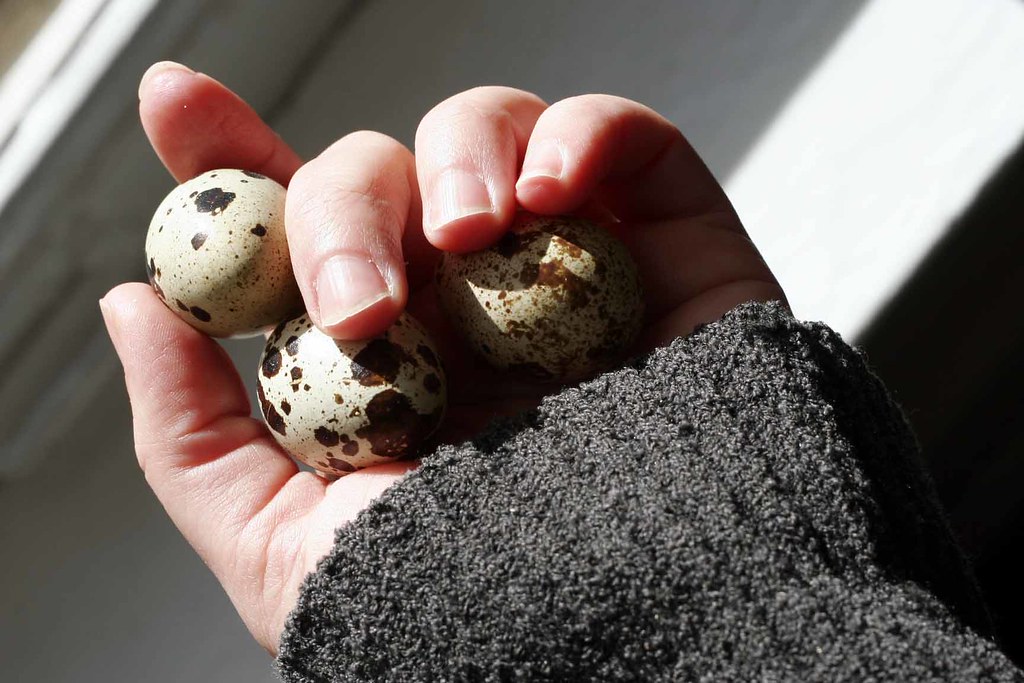
In Chicago, Chinatown and Little Vietnam are great places to find fresh quail eggs.  You can also sometimes find them at gourmet, specialty or various Asian grocery stores.  There's not a huge flavor difference, in my opinion, between quail and chicken eggs - perhaps a bit gamier, but nothing off-putting to be sure.  The yolks are plump and rich, the whites fry up nicely.  I'd say the biggest thing to be aware of is that the membranes on the eggs are usually pretty thick.  Couple that with their tiny size and cracking them are a little bit more of a challenge... though I have freakishly doll-sized hands so it's not really so much of an issue for me!


Gaaaah!  Mini hands!!!


Recipe: Mini pancakes and eggs {OR} Olive oil blinis with quail eggs


What you need to get...

For the blinis (makes approx 12):
1/2 cup flour
1/4 teaspoon salt
1/4 teaspoon baking powder
1/2 tablespoon sugar
1 egg
1 cup milk
1 tablespoon olive oil
Butter for frying

6 fresh quail eggs

Optional toppings: caramelized onions, bacon crumbles, fresh salsa, fresh dill, creme frache


What to do with it all...


Heat your griddle or non-stick pan on medium heat
Combine the blini ingredients (except the butter) and mix until blended
Melt enough butter to just coat your frying surface
Pour about 2 tablespoons of batter onto your cooking surface for each blini
Cook on each side for about 1 minute on each side, or until golden
Set aside in a stack and keep in a warm place, such as unheated oven
Add a little more butter to fry your eggs, cracking each individually
Fry for about 3 minutes, or until whites are set
To serve: Stack 2 blinis on individuals plates, top with one fried quail egg, accompany with one or more toppings on the side (optional)

Makes 6 pieces


Friday, January 15, 2010

Reinventing the Lamington cake: LAMBington cake "pops"... PART TWO!

Finally after much smoke and messy chocolate, the LAMBingtons photos & recipe is here!


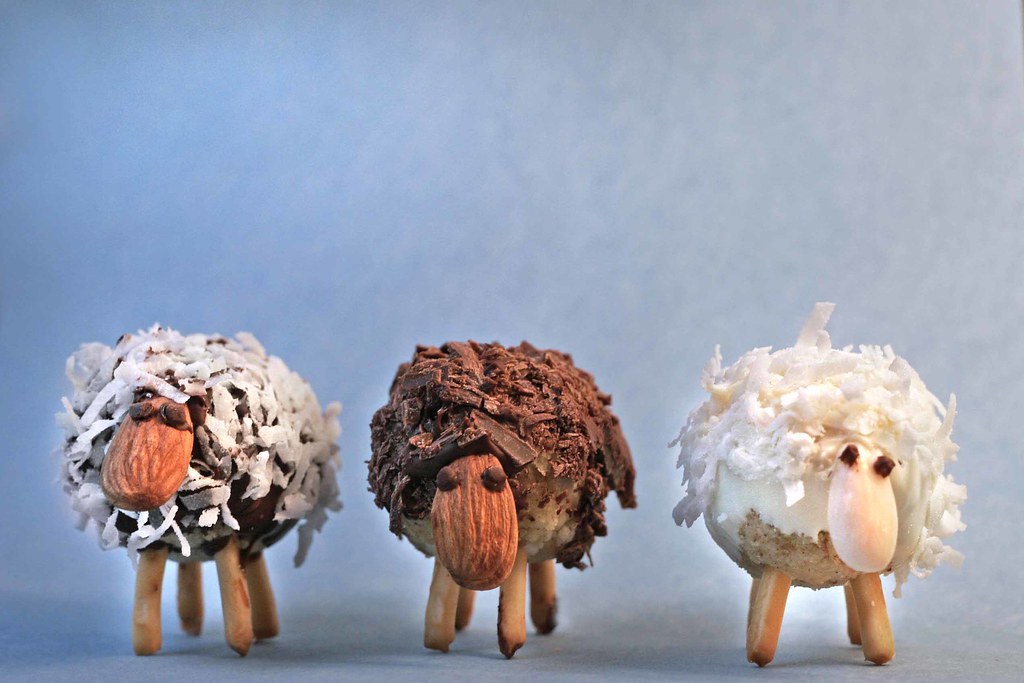
Introducing...

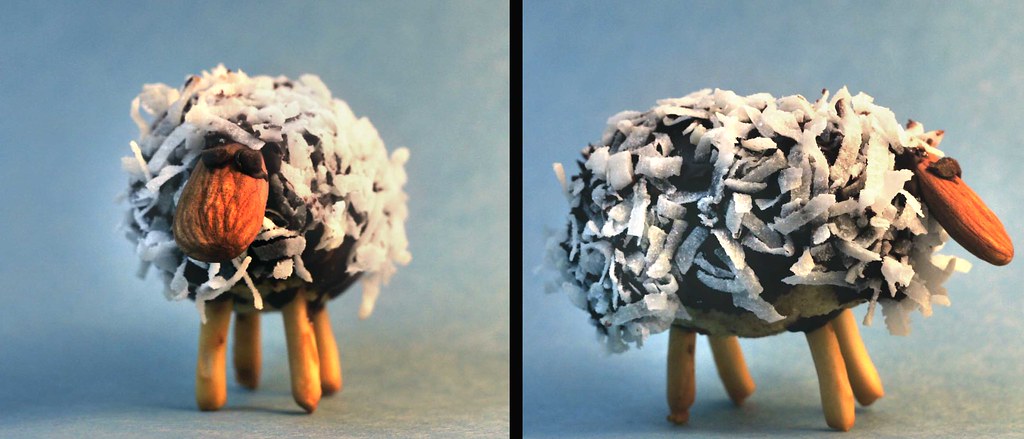
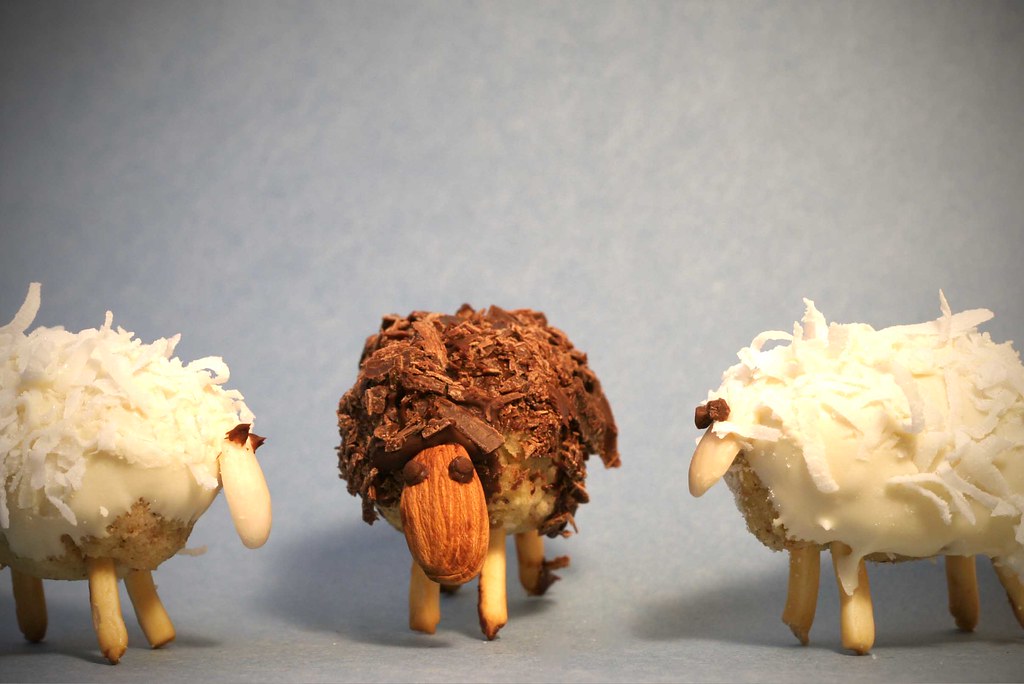
Mortimer - the Traditionalist:


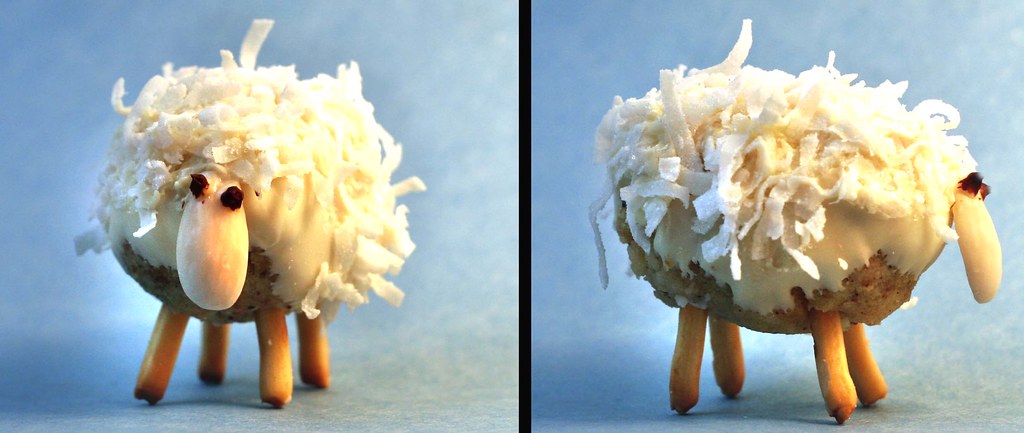
Clementine - The Sweet One:


Hubert - The... One That Got a Little Too Close to the Photo Lights and Got Melty:


As I mentioned yesterday, I had a little fire while taking pictures of these little guys, so I had to delay my REAL post until now.  So here they are, and if I must say so myself, they are rather adorable!  Thanks to Mr. P for creating a brilliant challenge over at Delicious Delicious Delicious.  He asked everyone to reinvent the lamington cake - the famous Australian dessert.  I thought, well, Australia has lots of lambs, right?  And "lamington" sure is close to LAMB...ington... soooooo....

I decided to model these little babies after the one and only Bakerella basic recipe for cake pops.  Those adorable, one-of-a-kind masterpieces that you don't even have to like cake to enjoy looking at for hours.  After making these, I searched her site and found that she even had some little sheep pops already!  They're very different from my guys, but I have a feeling if you put them all together in a room with some cocktails, they'd get along really well.  Obviously my sheep are not actually "pops" as they have legs... made out of plain Pocky sticks!  But the cake ball recipe is Bakerella's.  It was Jason's idea to add the chocolate eyes, by the way, and I'm so glad.  I really think they make these little guys.  He's brilliant!


Have you ever been the black sheep in the family?  This guy knows your pain!

So without further ado, here's my version of the lamington cake... I'm probably going to come back to this post to add more instructional photos and some better lit lamb photos once my new light arrives - yes, did I tell you?  I bought a new light to replace my burned light box.  It is, incidentally, the same one Bakerella uses *proud smile*.  Until then, I'll be feeling a little *ahem* SHEEPish about my sadly lit photos...

Recipe: The LAMBington Cake


What you need to get...

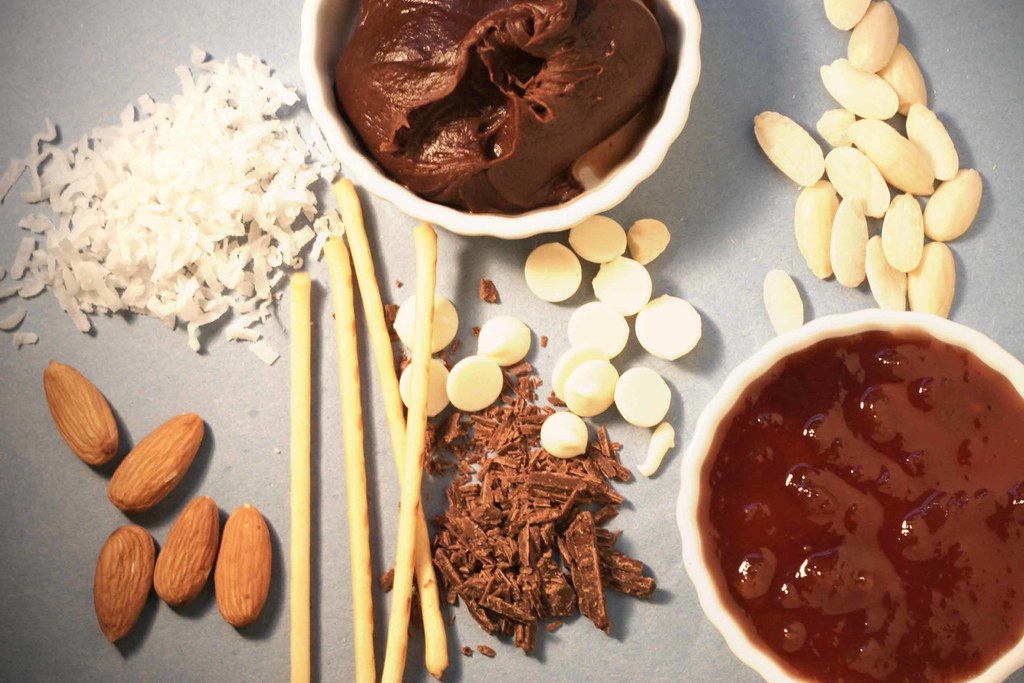
1 box of lemon or vanilla cake mix (plus ingredients on the back of the box per baking instructions)
1 can of vanilla frosting (16 oz)
1 package of white chocolate baking/melting chips (11 oz)
1 package of milk chocolate baking/melting chips (11 oz)
1 jar of good jam or preserves (I used quince)
1 bar of milk chocolate, shaved (you can use chocolate sprinkles instead)
1 cup shredded/dessicated coconut
1 box of plain Pocky - such as "Rost" variety OR small unsalted thin pretzel sticks
1 tablespoon Garam Masala (optional)
1 cup raw almonds
1 cup blanched/skinless almonds

Special equipment: 13 x 9 cake pan, large bowl, wax paper, a toothpick

What to do with it all...

  • For the cake oval bodies, bake your box cake according to directions for a 13 x 9 cake, adding the tablespoon of Garam Masala if desired  (also see Bakerella basic recipe)
  • Allow cake to cool and crumble into a large bowl, and add your vanilla frosting by large spoonfuls and combine by hand until you achieve a consistency sort of like meatloaf - easy to form ovals
  • Using a walnut-sized amount of cake mixture, form an oval shape, then cut the oval in half lengthwise and spread a small amount of jam in between - reassemble like a sandwich and reshape to an oval
  • Cut the ends off of Pocky sticks in one-inch pieces (you want the end pieces as they will form the feet), OR if you are using thin pretzel sticks, cut them in half
  • Melt your white and milk chocolate chips in small bowls according to package directions
  • Dip your cut ends of the Pocky or pretzle sticks into the chocolate (some in milk, some in white as you wish the final colors of the lambs to be), just a scant centimeter or so and then stick into your oval, repeat 3 x until you have "legs" (the chocolate acts as a glue of sorts) - make sure your legs are at even lengths so that when you set them down later, they'll stand properly
  • Place your lambs on their "backs" on a plate or small tray under a piece of wax paper and place into the freezer for at least 10 minutes
  • During this time you can arrange your "wooling" station by spreading shredded coconut on one plate, chocolate shavings or sprinkles on another, and rewarming your milk and white chocolate for dipping
  • Remove lambs from freezer and carefully dip one by one into the chocolate color to match the legs - make sure to cover the sides and front & tail
  • Quickly move your dipped lamb from the chocolate to the coconut or shavings and coat - chocolate dries quickly!
  • Now re-dip just one end slightly in chocolate to act as glue to attach your almond face - attach the almond with the pointed end so you have a rounded face
  • To make eyes you can either just dab on milk chocolate with the toothpick, or attach small bits of solid chocolate that you've rolled between your fingers just a little to soften and make round and attach that using the melted chocolate and the toothpick
That's it!  The LAMBington!

Wednesday, January 13, 2010

Reinventing the Lamington cake: LAMBington cake "pops"... PART I

Yeah... this is Part I for a reason that was not in my plan when I started putting this little guy together tonight.  But a lot of things weren't in my plan when I started this tonight...

First things first, though.  Mr. P of the venerable Delicious Delicious Delicious is holding a Lamington competition this month.  A very cool idea that I immediately had an entry in mind for.  While that entry is now, at this moment, sitting in my dining room, the rest of the plan (lots of brothers for my little entry and lots of pretty photos to accompany them) was not to be tonight.

The reason why?  I nearly set my house on fire with one of my photography lights.  Yep.  The photo says it all...


I'm a nine to fiver and I go to school, so often take my food photos at night using a little make-shift softbox light I build out of a cardboard box and and old t-shirt that I was very proud of... however, while taking pictures of my creation tonight, one of the lights tipped forward without my knowlege while I was arranging the shot and ignited the shirt part while I was fiddling with the Lamington.  NOTE: These lights are not normally that close to the lightbox, they were shifted during the "Omigod, fire!  What do I do?!  Stop Drop and Roll??!!  No... find blanket???  Maybe... Call hero boyfriend from other room to come douse the flames??!!  YES!!" part of the photo session.

Anyways, lesson learned here is don't be cheap, even if you're a poor student, and make your own lightbox thinking it will save you money.  Saving $$$ = Flamable Materials.   So, while we had a good laugh about it afterwards (and a few beers to calm the nerves),  needless to say I now no longer have a softbox light.  Therefore, I will have to take my proper pictures of this creation in daylight tomorrow... nice and early.

In the meantime, here is a shot in icky lighting of my entry for the very awesome contest at Mr. P's place...


There's also a chocolate/square version of him which will be completed tomorrow (he's resting in this photo, obviously, waiting to be coated in yummy frosting)...


Did I mention that the prize for winning this particular contest is a cookie cutter in the shape of a Welsh Dragon?  Yeah, pretty kick ace... of course, dragons breathe *gulp* ... fire...

So until tomorrow, when I will be revealing the recipe, REAL photos, etc for this challenge... I say goodnight to everyone.  I'm off to shower off the campfire smell!

Saturday, January 9, 2010

Whimsical hors d'oeuvres - tomato bisque shots and mini grilled cheese!

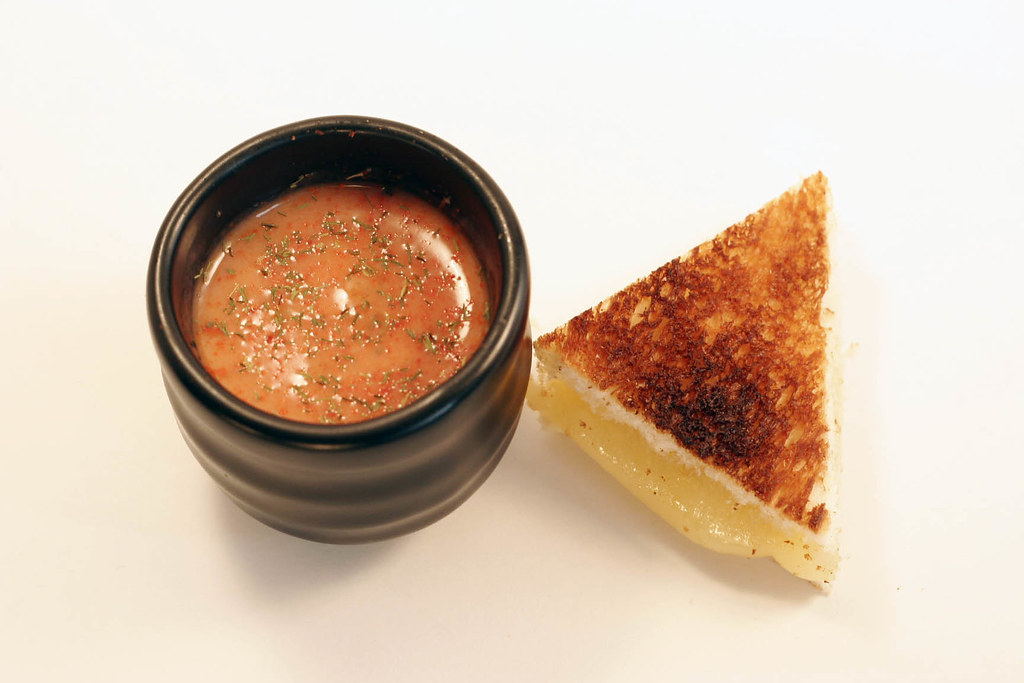
As promised, here's the second set of hors d'oeuvres in my series of 4 celebrating the first month of the new decade: a spicy tomato bisque with mini grilled cheese to make you go AWWWWW...

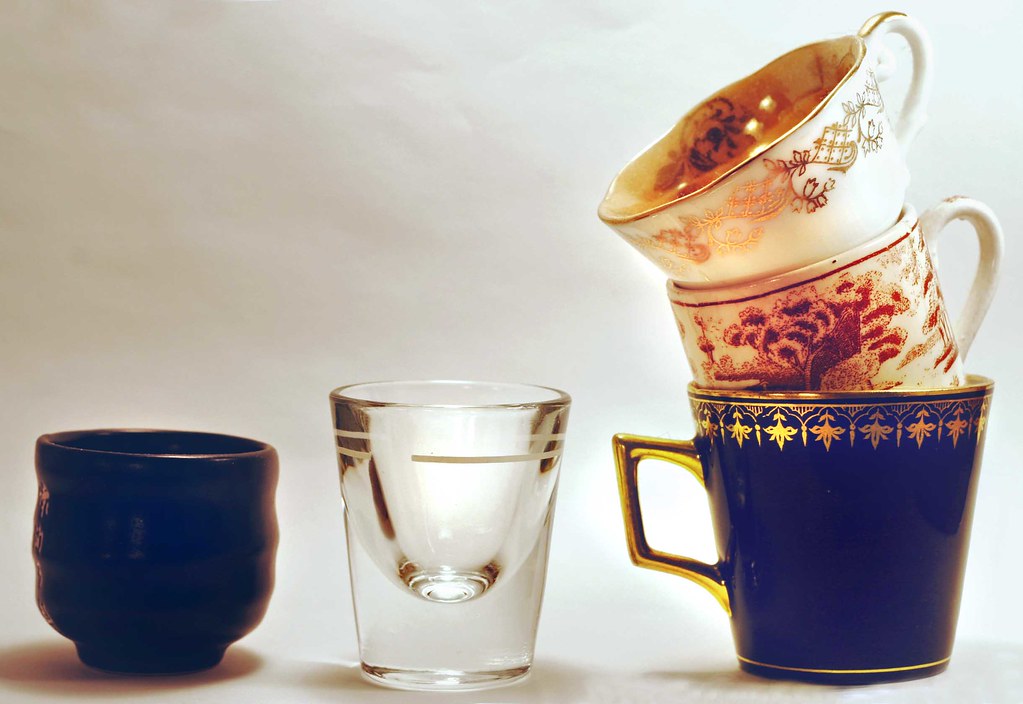
Note: I used sake cups for my "bowls" (a housewarming gift from my friend Ivon - thanks, Ivon!) but you can use anything little like shot glasses or demitasse cups...


Recipe: Tomato Bisque Shots with Mini Grilled Cheese


What you need for the bisque (makes about 6 cups)...

1 medium Vidalia or other yellow/sweet onion, diced
2 medium carrots, peeled and diced
1/2 cup jarred or fresh roasted red peppers, diced
4 tablespoons butter (divided in half)
3 cloves garlic
3 tablespoons AP flour
4 cups chicken or vegetable stock
2 14.5 ounce cans of diced tomatoes (drained)
3 tablespoons tomato paste
1/4 cup heavy cream
Splash of Marsala wine
1/4 cup minced cilantro
1/2 tablespoon cumin
Cayenne pepper to taste
Salt and pepper to taste

What to get for the mini grilled cheese...

A loaf of firm white/french bread, cut into triangles (about 20)
Approx 1 pound of a good melting cheese: brie, Gouda, cheddar, Swiss, etc
Butter or olive oil for pan grilling
Other optional add-ons: olive tapenade, Ajvar spread, pesto... you name it!

What to do with it all...

For the bisque:
  • In a medium saucepan, melt 1/2 of your butter (2 tablespoons) and saute the onion, carrot and garlic on medium heat
  • Once they begin to brown, sprinkle flour over veggies and cook on low for another minute or until flour is well incorporated
  • Add the stock, canned and paste tomatoes, Marsala wine, and roasted peppers and bring to a boil
  • Lower the soup to medium-low and allow to cook just above a simmer until the veggies are tender
  • Use an immersion blender and partially puree the soup (you still want some chunks) - you can also do this in a blender or food processor using half the soup and pureeing then adding back to the saucepan
  • Add your cream, cumin, cilantro, cayenne, salt and pepper and remaining 2 tablespoons of butter and heat until just hot
  • Set aside until grilled cheese is ready, then add to shot glasses/cups/bowls
For the grilled cheese:
  • Sandwich 10 slices of cheese between two triangles, smear one piece of bread w/optional spread
  • Brown on both sides in butter/oil in an oven-proof pan and transfer to broiler until golden and cheese is soft and partially melted
  • Place on the side or on rim of your bisque vessels!
  •  


Tuesday, January 5, 2010

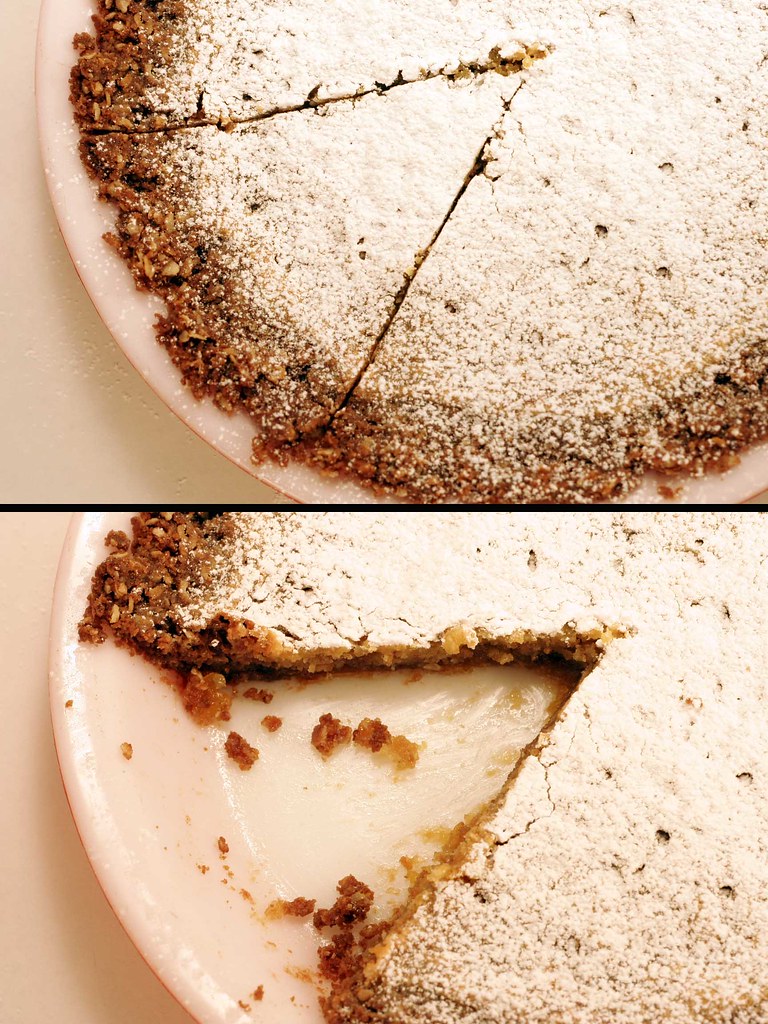
Momofuku Milk Bar - The Crack Pie Recipe


Martha Stewart said "crack" on national television.  I heard it with my own ears.  You can, too, if you go to this Eat Me Daily post.  Anyone familiar with the Momofuku Bakery and Milk Bar in Manhattan knows that if you're talking crack, it's in reference to the crack pie David Chang whips up there.  Martha visited the now famous chef's concept bakery when it first opened, and she and only she could get him to divulge the recipe for this notoriously addictive pie.  Martha rocks.

This pie, as it turns out, rocks, too.  Here's why:
  • It's got relatively few ingredients, and none of them fancy/unusual (at least this version)
  • It's rather easy to make, and you only need a baking pan and a 10 inch pie pan
  • It's delicious - really, really delicious... and I don't even like pies overall
First, the ingredients. The recipe on the show was by weight, but several good people around the web have converted this to volume measurements - something I didn't know right away as I furiously scribbled down the aired recipe and then nearly cry when I realized I don't own a food scale.  Thank you, web people.  I then halved the recipe for just one pie (the show's recipe was for 2, 10 inch pies) and made a couple key changes: I took out the dry milk, for one.  Why?  I don't think most people have dry milk around the house, I certainly didn't, and I feel the purpose of this recipe is the awesome convenience of not having to run out for special ingredients.  If you have dry milk, or want to go out and buy some, bless your heart.  Here is a version from The Boston Foodie left untouched by my meddling.  

I gotta warn you, any pie that has few ingredients is going to, obviously, have larger quantities of each: in this case that means lots of eggs... and lots of butter.  But seriously, it's called CRACK pie, so you can't really expect vitamins and minerals, can you? 


A note on the eggs: there are three yolks required for the recipe (hey, the original wanted FOUR).  Might seem like a waste of whites, especially if you don't get lucky and get a double yolk like I did (Ha!), BUT, did you know you can freeze your egg whites?  Yep.


Recipe: Momofuku Crack Pie - Peas Love Carrots Version (makes one 10-inch pie)


For the cookie:
1/4 cup unsalted, room temperature butter (1/2 stick)
1/4 cup light-brown sugar
1 1/2 tablespoons granulated sugar
1 medium egg
1/4 cup all-purpose flour
1/4 cup old-fashioned oats
1/8 teaspoon baking powder
1/8 teaspoon baking soda
1/8 teaspoon salt


For the crust:
1/4 cup unsalted, room temperature butter (1/4 stick)
1/2 tablespoon light-brown sugar
Pinch of salt


For the filling:
1/4 cup plus 1 tablespoon granulated sugar
1/4 cup plus 1 tablespoon light-brown sugar
1/8 teaspoon salt 
1/2 cup melted, unsalted butter (1 stick)
1/4 cup plus 1 tablespoon heavy cream
1/8 teaspoon pure vanilla extract
3 egg yolks plus 1 whole egg


Confectioners' sugar, for dusting 


What to do with it all...

  • First make the cookie - preheat oven to 350 degrees
  • Combine all the ingredients for the cookie and mix until well blended
  • Spread mixture on a greased cookie sheet (you can also line the cookie sheet w/parchment instead)
  • Bake cookie for 12 - 15 mins, or until golden


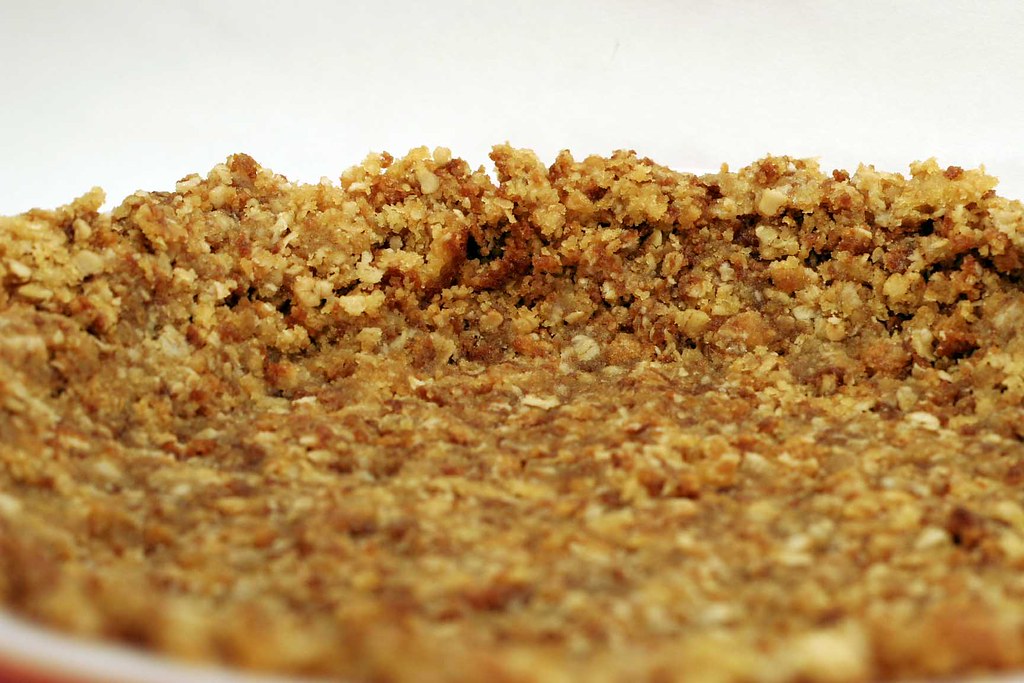
  • Let cool enough to handle then crumble into a large bowl and add the crust ingredients and combine well
  • Press crust into 10 inch pie pan, bottom and sides, and set aside

  • To make the filling - reduce oven to 325 degrees
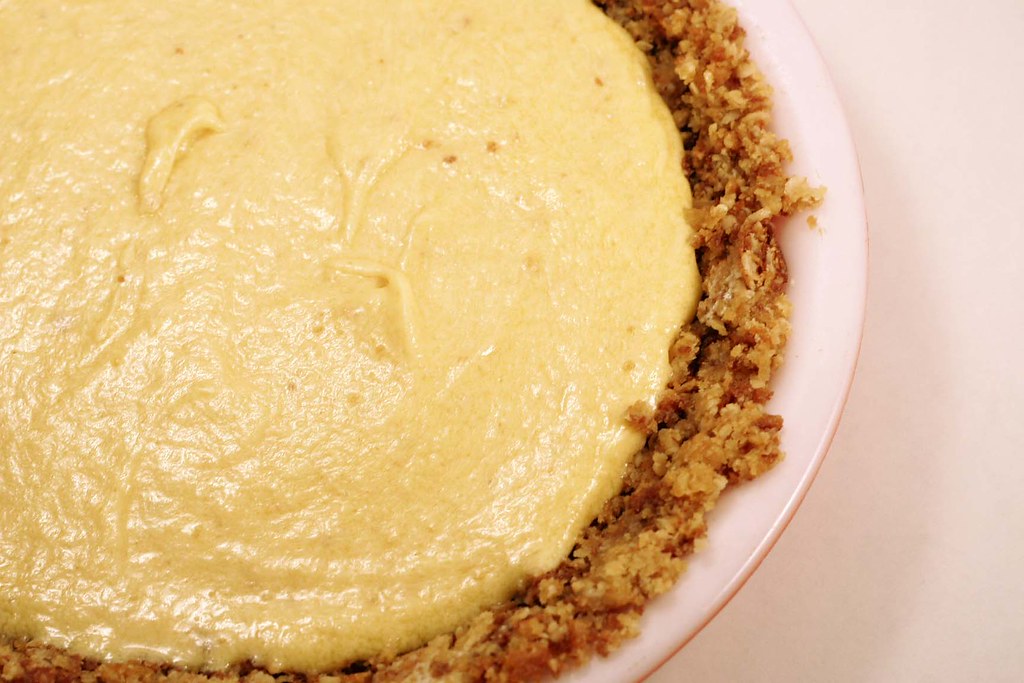
  • Combine filling ingredients in a large bowl and whisk until smooth

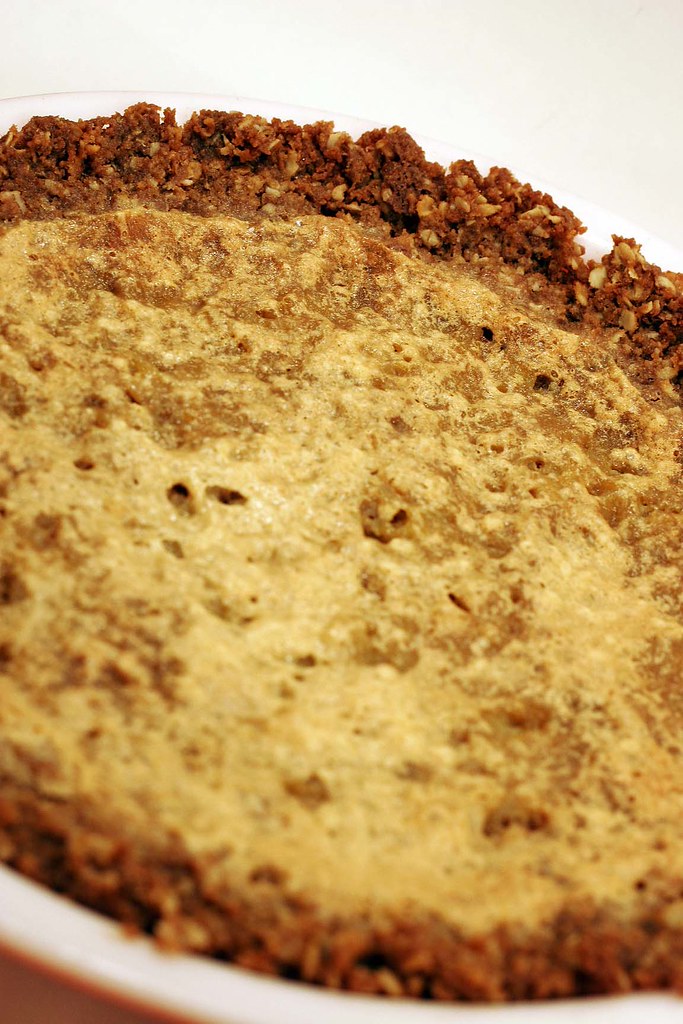
  • Pour into pie crust and bake for 15 minutes, or until somewhat set
  • Reduce oven temperature again to 315 and bake until the top is browned
  • Remove from oven and cool slightly
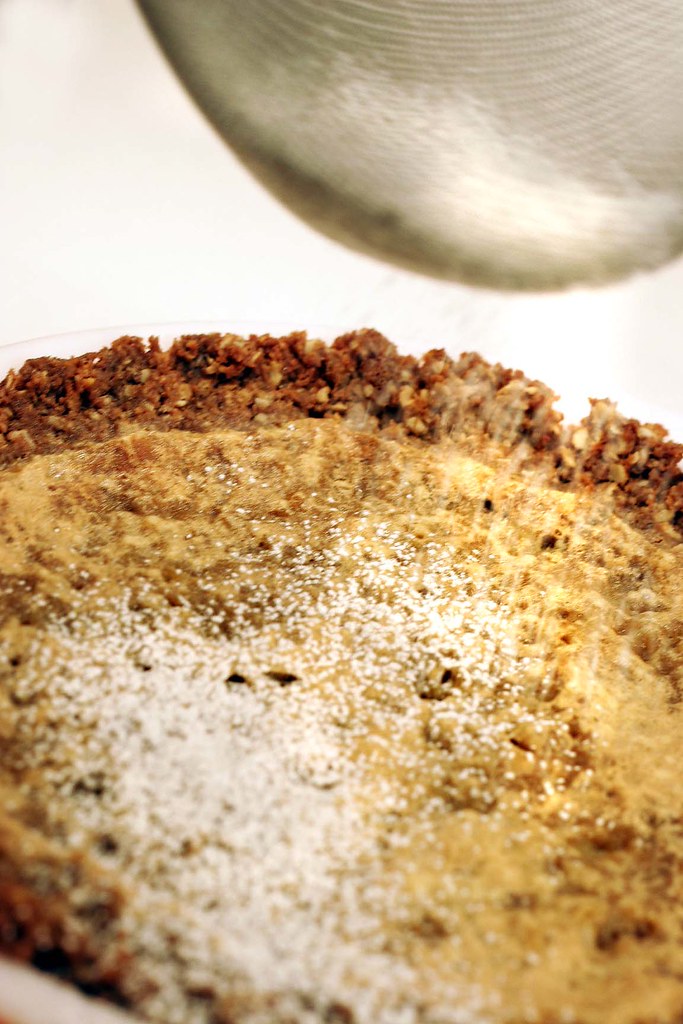
  • Refrigerate for at least 30 mins and dust with confectioner's sugar before serving


LinkWithin

Related Posts with Thumbnails