Friday, April 16, 2010
Eat Your Flowers
In Chicago I don't declare it Springtime until I can see full-fledged leaves unfurling on the occasional tree. That being said, I think we've finally arrived to that time here. I thought it might be a good opportunity, then, to do a little four-part series on flowers in food. This is mostly just an excuse for me to buy roses for myself, perhaps, and to take pictures loaded with petal colors. What can I say? I'm a girl.
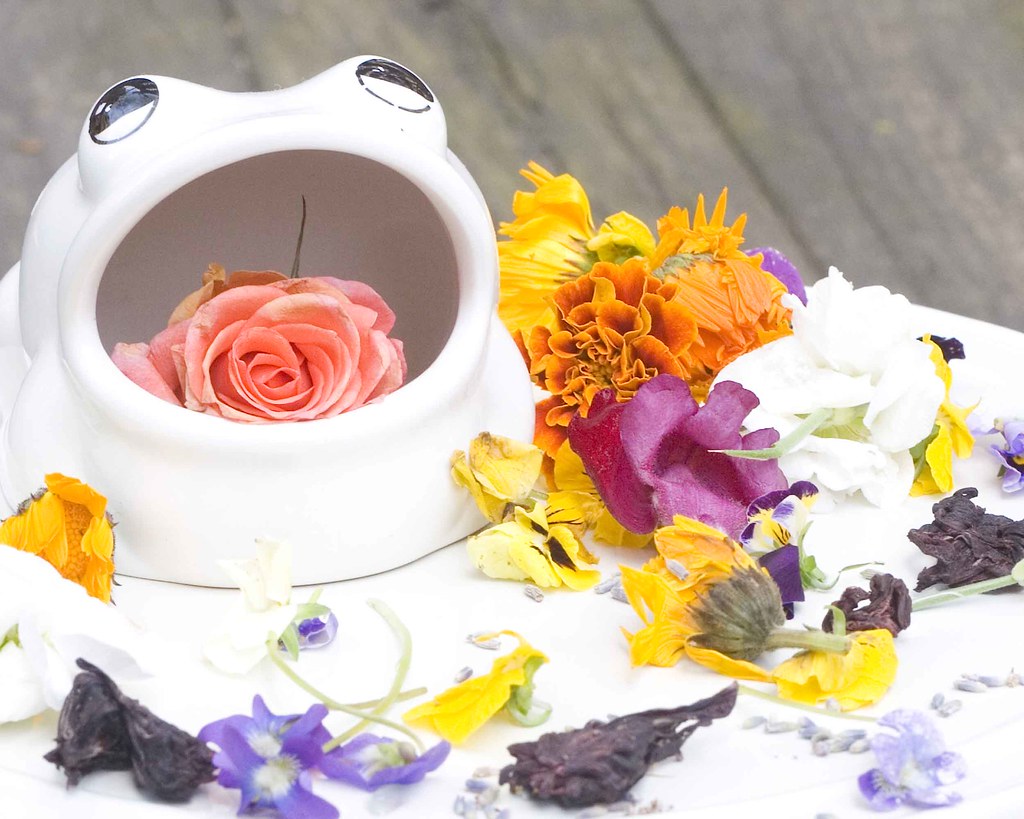
I'm not going to tell you what all of the recipes for this series are going to be, but I can tell you that they will include all of the flowers seen in the below photo, with each focusing on one or two in particular: Hibiscus, Violet, Rose, and Lavender were chosen to be the main players. Two of the dishes, including this first one, are savory. The other two are desserts.
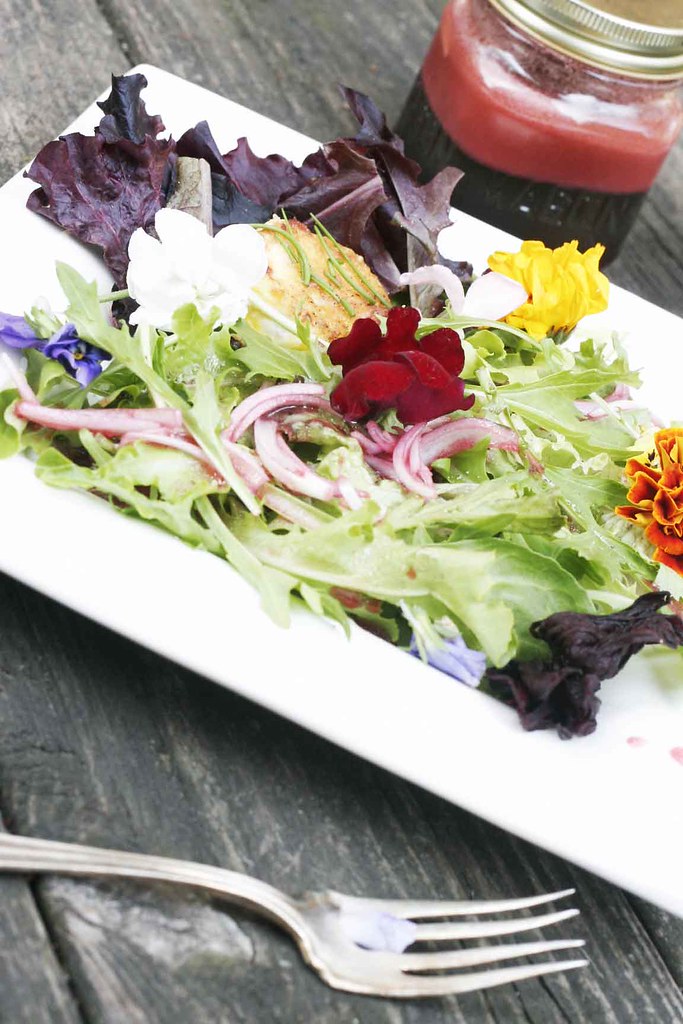
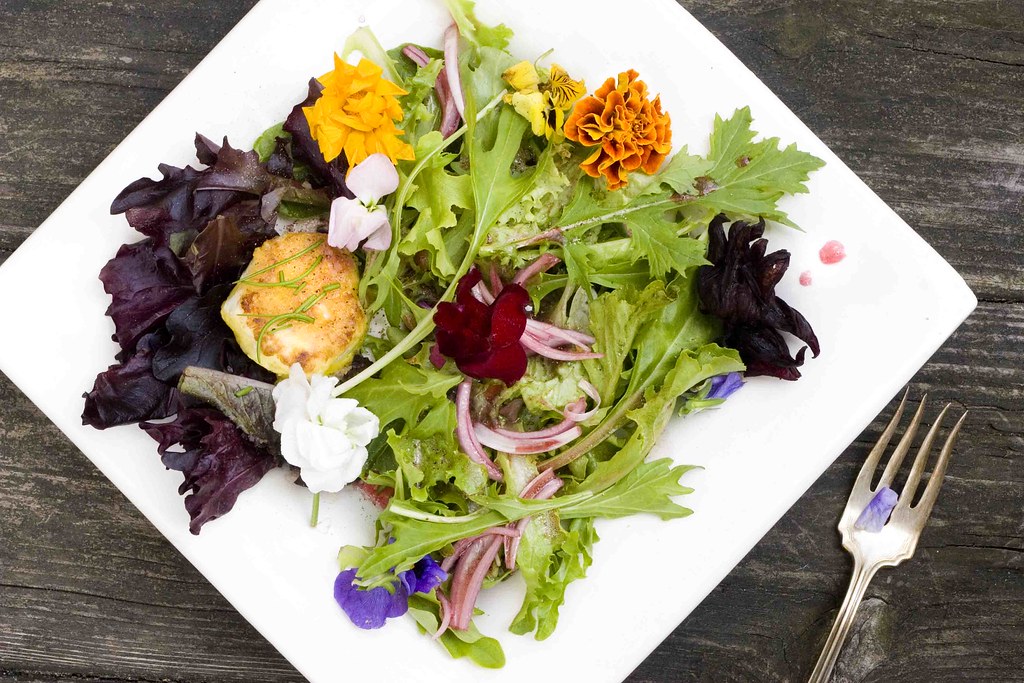
This first dish feels a little like an exception when you look at the pictures since I went a little wild buying a confetti pack of edible flowers of a dozen varieties to sprinkle on the finished salad. The focus is supposed to be on the hibiscus flower vinaigrette, but I will admit that in the plated finish it's the look of a sea of wildflowers on the greens that steal the eye away from the deep plum-colored dressing.
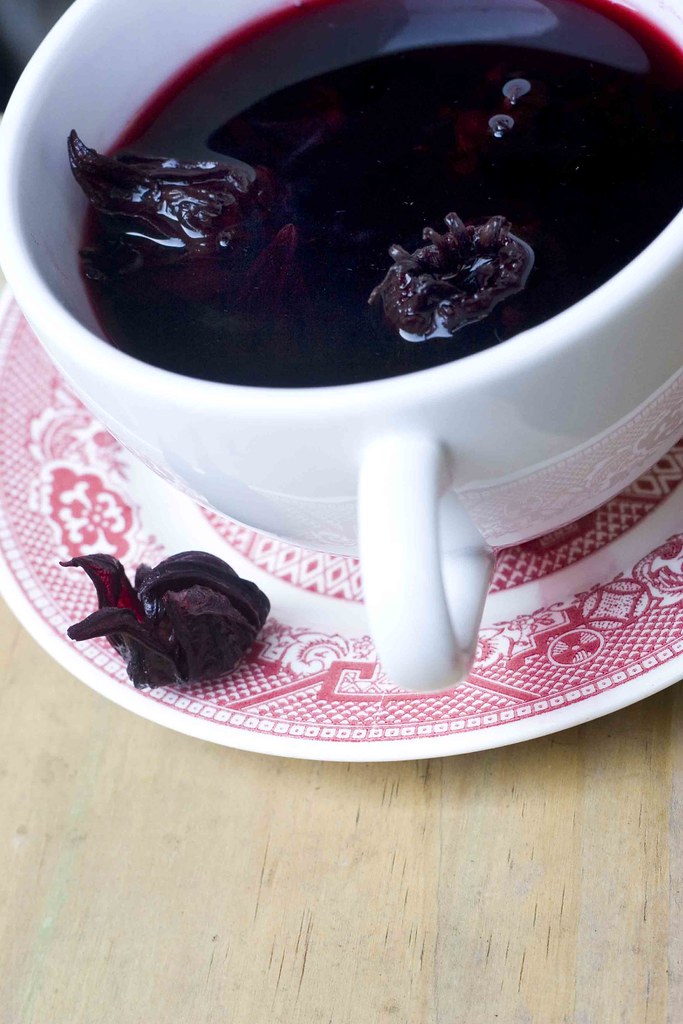
Still, when it comes to flavor, the hibiscus' role reigns supreme. There is a wonderful tart, fruitiness to these flowers that makes their tea perfect for dressing a salad, which is how I did it - by making a tea out of the dried flowers. I found the flowers in a Persian shop near my home, but you could also use dry tea blends or hibiscus juice, even, which is available in health food stores, etc. Just adjust things like honey or vinegar according to your tastes.
If you'd like to use the flowers, which are great for all kinds of things, like this amazing jam from Sanjana at KO Rasoi, here is a good source for them at a decent price.
I served this dressing over fresh organic mesclun mix with goat cheese croquettes (just goat cheese mixed with fresh chives and dredged in egg/flour mixture before a quick pan-fry) and mixed edible flowers. The flowers should be labeled "edible" in florists or found in the fresh herb section of the grocers, and are grown without harmful pesticides. If bought in packs, they often include certain varieties of chive flowers, marigolds, nasturtiums, etc. They all have their own flavors that range from "nutty" to "citrusy", but tend to be subtle in flavor.
Next week I'll share another fun recipe including flowers, I hope you'll stop by!
Recipe: Hibiscus Flower Vinaigrette
What you need to get...
1/2 cup hibiscus flowers
8 oz boiling water (to make a strong hibiscus tea)
3/4 cups olive oil
2 tablespoons thin-sliced shallots
Small handful of fresh tarragon, chopped
Small nob of fresh ginger, grated or minced very fine
1 tablespoon sherry vinegar (red wine vinegar also works - if using balsamic, omit honey)
1 tablespoon lime juice
1 tablespoon honey
1 teaspoon kosher/sea salt
Cracked pepper
What to do with it all...
Add your boiling water to your hibiscus flowers and allow to steep for 10 mins. Remove flowers and allow tea to cool to room temperature.
In a medium non metal bowl, combine the rest of your ingredients except the olive oil and allow them to "mingle" while the tea cools. Once tea is cooled, whisk in. Whisk in olive oil, adding in a steady stream until incorporated. Store in refrigerator for at least an hour before use.
Makes 2 cups of dressing
Saturday, April 10, 2010
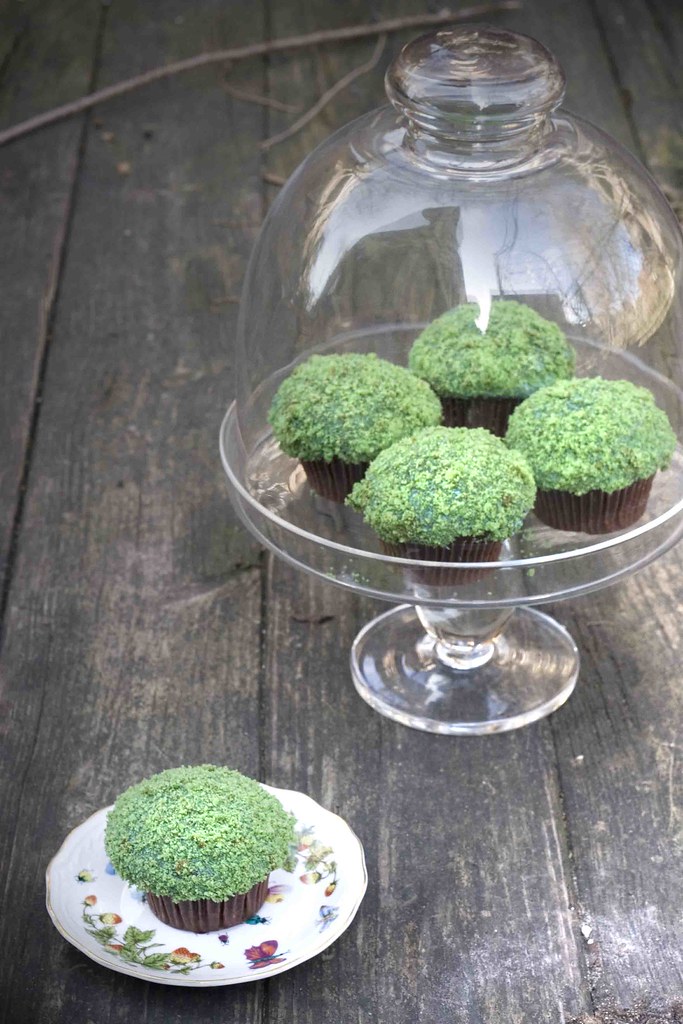
Moss Cupcakes You Say?? I Do!!!
Ok, I know this is a sort of ridiculous thing to be posting, but I don't really care. The idea popped into my head and it just wouldn't go away... Cupcakes. Made to look like moss balls. "You know, those moss balls you see sold at home decor places." I said, explaining the idea to Jason. "What? Like, the kind you put in your closet?" he replied. He was driving in his car and on a headset, so there was a good deal of static on the line. Still, I was pretty sure he said "closet" and I was really confused. "No, what? Why would you put cupcakes in the closet?" I said, shaking my head (to no one). "I was going to ask the same thing!" was the reply. "And since when are moth balls GREEN?". "OH! No, not MOTH balls, MOSS balls..." I said, almost rolling my eyes and then realizing "moth balls" might actually have made more sense. "Um, oh... well... I'm sure it'll turn out great, sweetie... Moss balls...".
I could picture him nodding his head on the other side of the phone. Convincing himself, mentally, that he was not dating a crazy person. Jason really is so supportive. Even when my suggestions scare and confound him... and everyone else around me. But it's okay if people are worried, because in my head this stuff makes a weird kind of sense. Sometimes my little brain says "You know what would be fun? Making some cake balls that look like sheep." And off the couch I go, zombie-like, to the kitchen to see if I have any Pocky around I can use for legs.
Most of the time people come around to my way of thinking once they see the results. That, or they're too frightened to say otherwise. "I LOVE the cheese snowmen, really!" they say, grabbing the tray I bring to their party... smiling a little too widely as they make a mental note not to invite me to their next one. That's what I imagine. But I'm hoping they will amuse someone. Moss may not be the most exciting substance to want on a dessert. It's not cute. Or even logical. But I had a surprising amount of fun making them, and I think they're perfect for Spring, really. REALLY. They're pretty tasty, too, when you combine the chocolate bases with the minty green tops and then coat them with more minty chocolate cake crumbs.
By the way, this recipe asks you to buy mint oil to flavor it. There's no reason why you should have to listen to that, though. I think these would work perfectly well if you chopped up a handful of chocolate mints to put in the cupcake base and called it a day. I wouldn't be a good Chicagoan if I didn't ask that those chocolate mints be the classic Frango Mints from the old Marshall Fields stores (now Macy's, boo) if you can help it. But really anything minty would work. Use your imagination! I do... even when it tells me to make odd things like this...
Recipe: Chocolate Mint Moss Cupcakes
Makes 16 cupcakes
For the cupcakes... (adapted from Joy of Baking)
1/2 cup cocoa powder (Dutch-processed preferred)
1 cup boiling hot water
1 1/3 cups all purpose flour
2 teaspoons baking powder
1/2 cup unsalted butter, softened
1/2 teaspoon salt
1 cup granulated sugar
2 large eggs
1 teaspoon vanilla extract
2 teaspoons mint oil
2 teaspoons mint oil
For the frosting...
2/3 cup unsalted butter, softened
1 1/3 cups confectioners sugar
1 teaspoon pure vanilla extract
1 teaspoon mint oil
1 teaspoon mint oil
Green gel food coloring
For the "moss"...
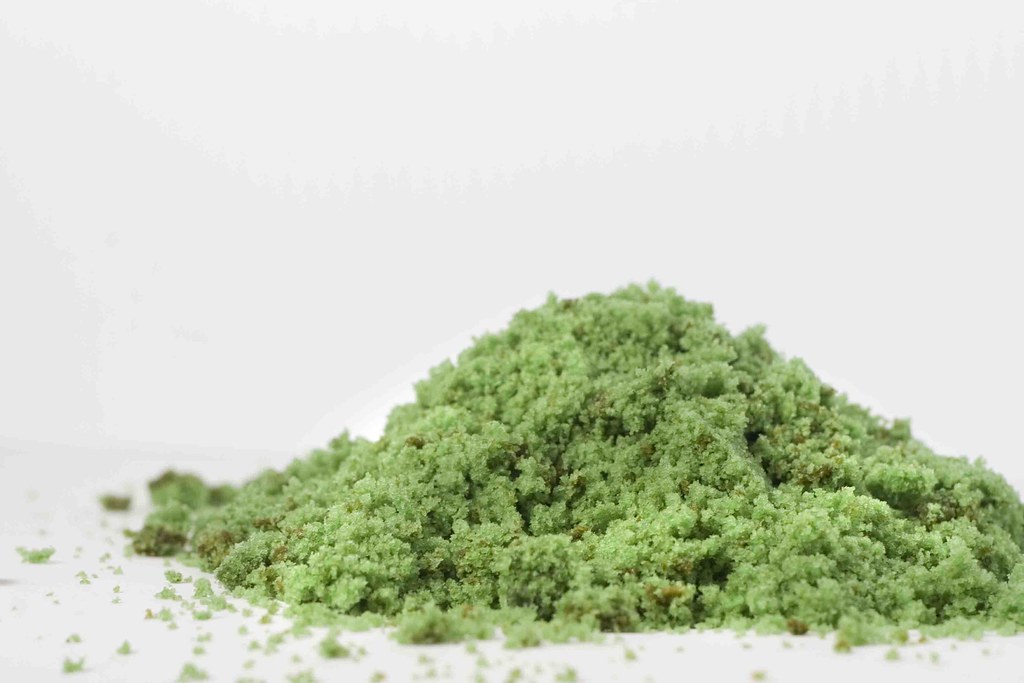
Might I suggest the Martha Stewart Red Velvet Cake recipe, and substitute green food coloring for the red. Allow it to cool and then crumble half of it finely to use for coating your cupcakes. It's good stuff and you can just eat the leftover cake you didn't "crumb" (there will be some).
What to do with it all...
For the cupcake base, start by preheating your oven to 375 degrees F and lining 16 regular-sized (4 ounces) cupcake cups with paper. I use the standard thin white papers that turn transparent when you bake in them to show off the choclate base against the green tops.
In a small butter stir together the cocoa powder and the boiling water until smooth. Set aside, allowing to cool to room temp.
With a hand mixer, cream the butter, sugar and mint oil until fluffy. Add the eggs one at a time, beating until smooth. Beat in the vanilla extract. Add the flour mixture and beat only until incorporated. Add the room-temp cocoa mixture and stir until smooth.
Fill each muffin cup 2/3 full with the batter and bake for 16-20 or until the batter rises and a toothpick comes out clean when inserted into the deepest part. Remove from oven and allow to cool.
For the frosting, start by creaming together your butter and sugar until fluffy (about 2-3 minutes) with a hand mixer on medium-low speed. Beat in vanilla and mint oil, then increase mixer speed to medium-high and beat until frosting is glossy.
Using a spatula or similar, coat your cupcakes with frosting, then roll in your previously made green velvet crumbs. Done!
Subscribe to:
Comments (Atom)


